
Marantz 2270 Receiver
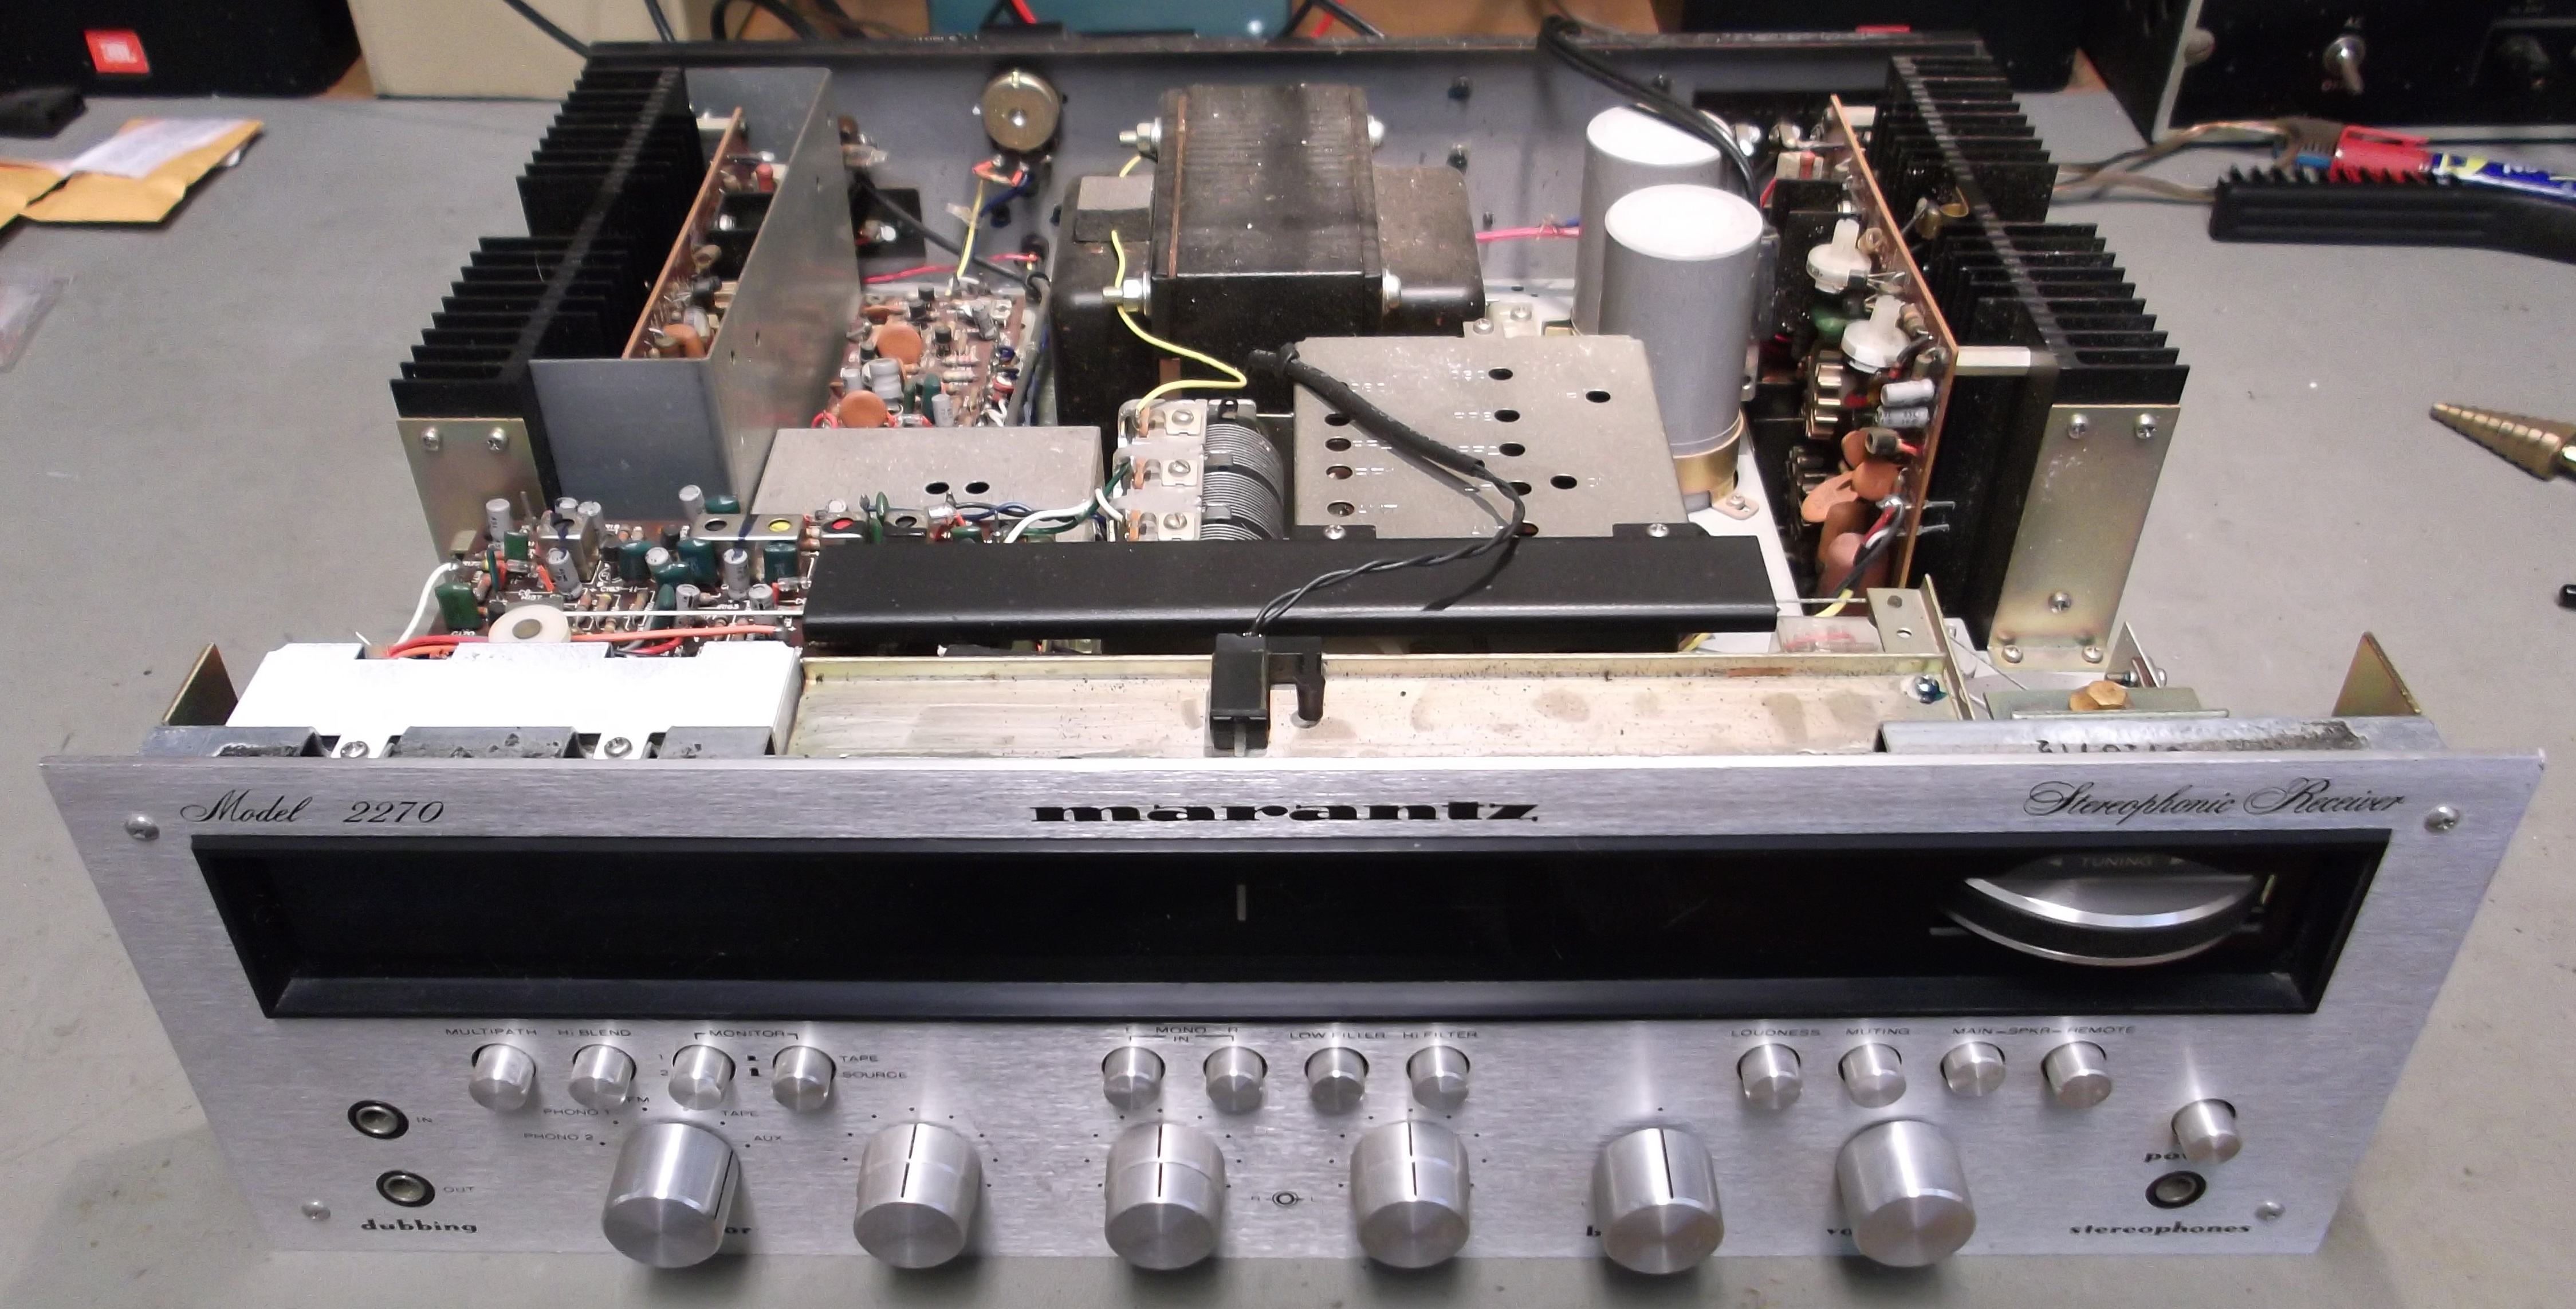
A new customer sent me this Marantz 2270 from California. It will be fully restored with all new capacitors throughout, a service manual recommended upgrade, and some serious cleaning. I’ve ordered the parts, and will document this job right here.
The Restoration:
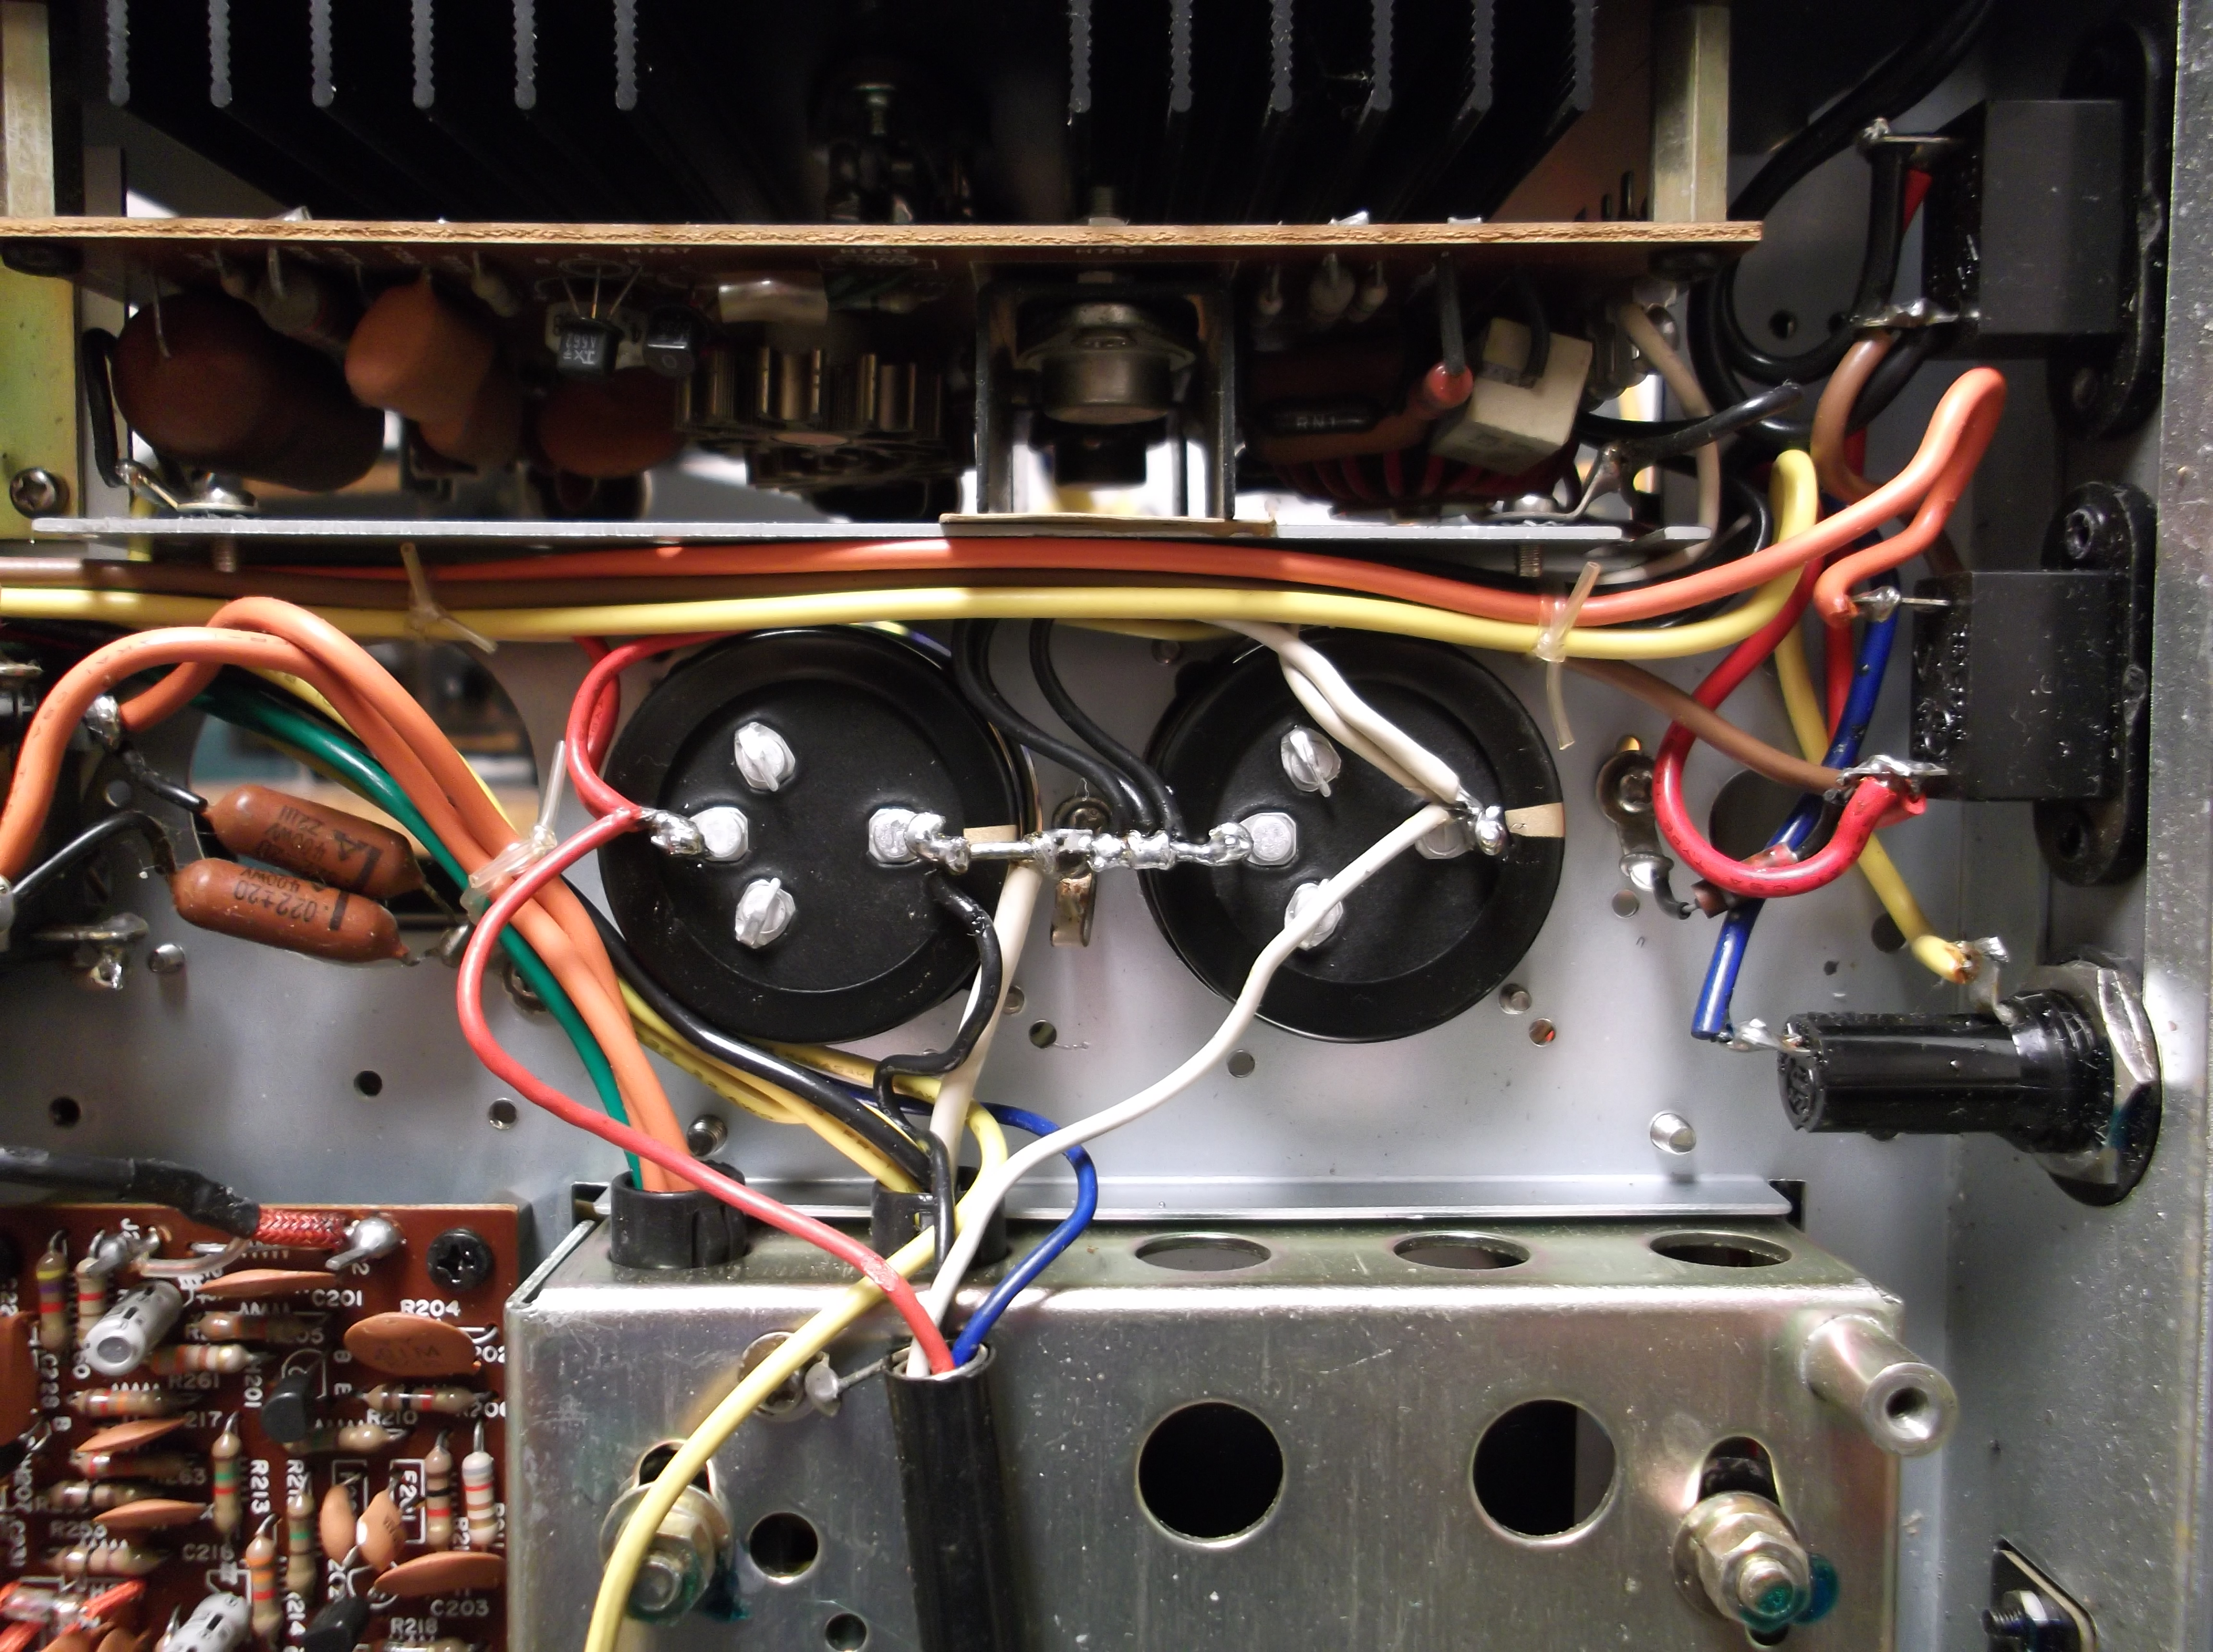
On testing it was found that, after the protection relay clicked ON, a loud hum emerged from the speakers. This was because a filter capacitor in the power supply had failed open. The fact that the protection relay was working meant that the output stages were likely still trying to work. Also, no lights at all were visible.
We begin by replacing all of the electrolytic capacitors:

The top view of the new power supply filter capacitors. The originals above were 9500uF and obviously very tall. The new ones are 10000uF and look how short they are!
Under the chassis you can see the new filter caps installed.

This is the AM tuner PCB lifted from the chassis.
Here is the same AM tuner PCB with the new capacitors on it.
Here is the FM stereo demodulator PCB with its old capacitors…
And here it is fixed up and back in the unit.
Here’s the AM tuner PCB reinstalled.
This is the tone control PCB. Taking it out allowed some cleaning spray to be sprayed into the potentiometers. Behind this PCB you can see the original capacitors on the preamplifier PCB.
Here you can see the preamplifier PCB with the new capacitors installed. Polypropylene film types were chosen for this section in the hope that an increase in fidelity would be noticeable. The verdict is out, as I don’t know how the electrolytics would have sounded, but these simply can’t be inferior.
The Phonograph amplifier & equalization section had one power supply decoupling capacitor to replace. Your technician forgot to photograph the replacement, but you can rest assured he slaved hours over a hot iron to replace this one!

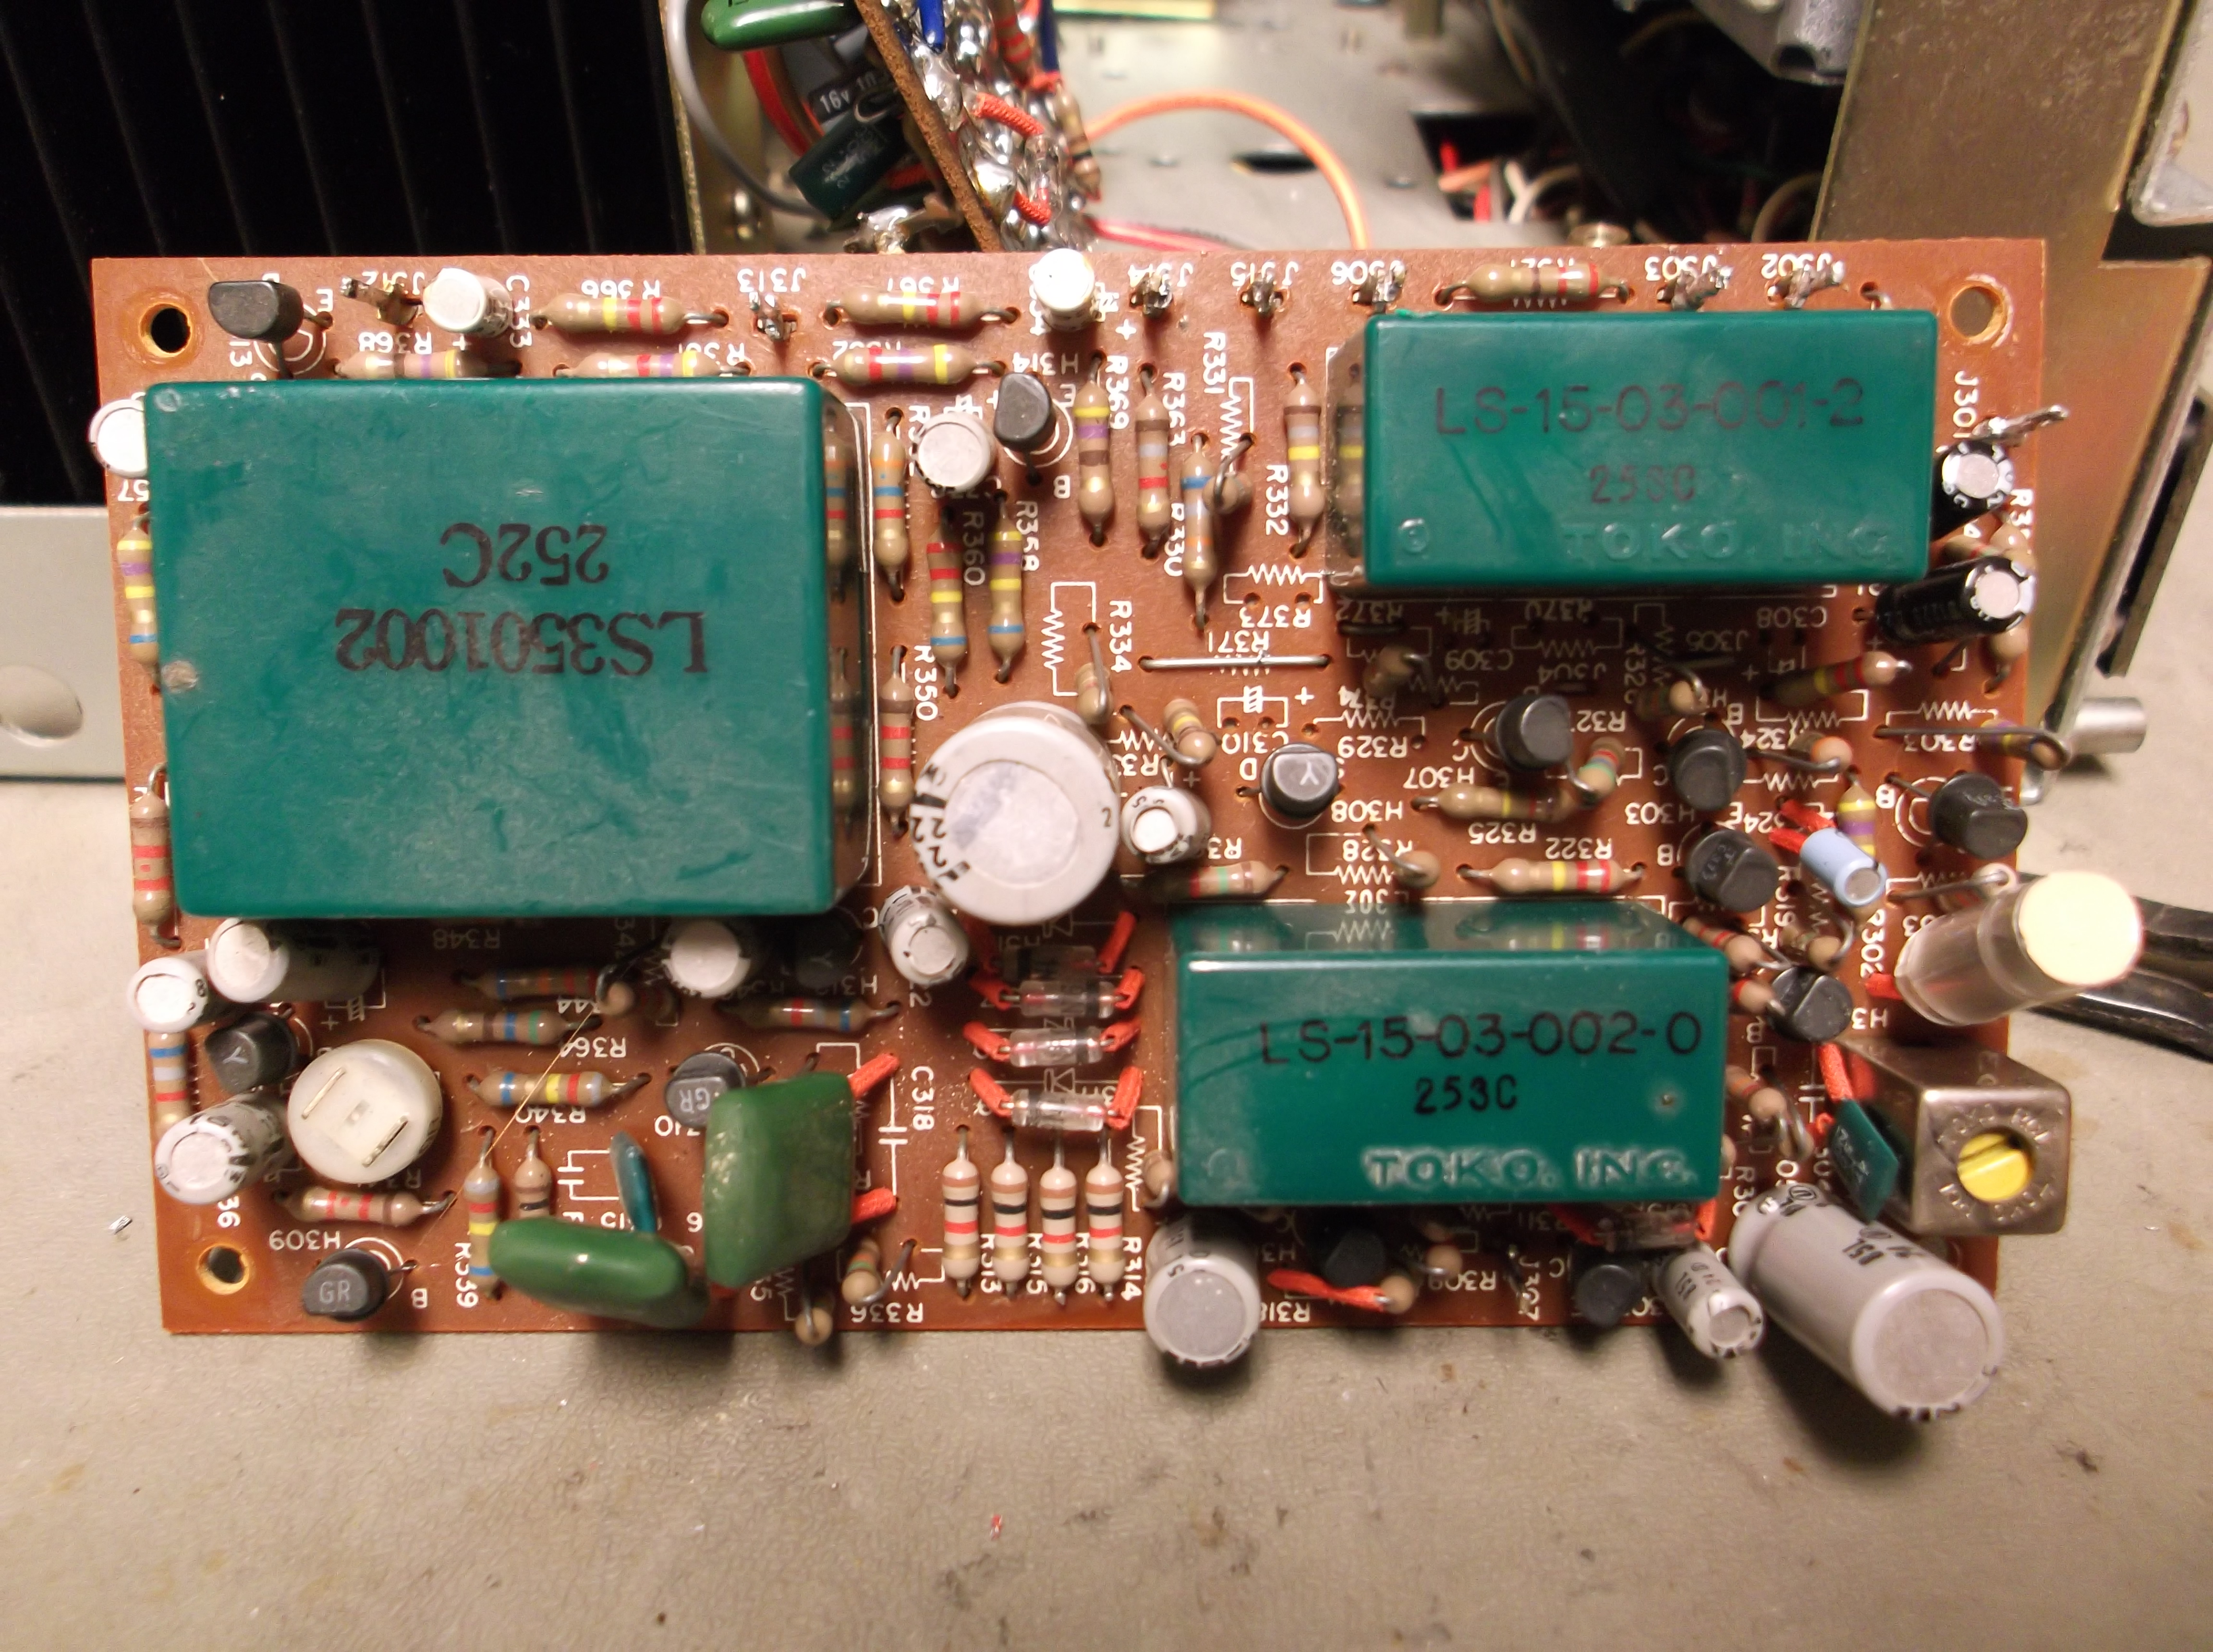
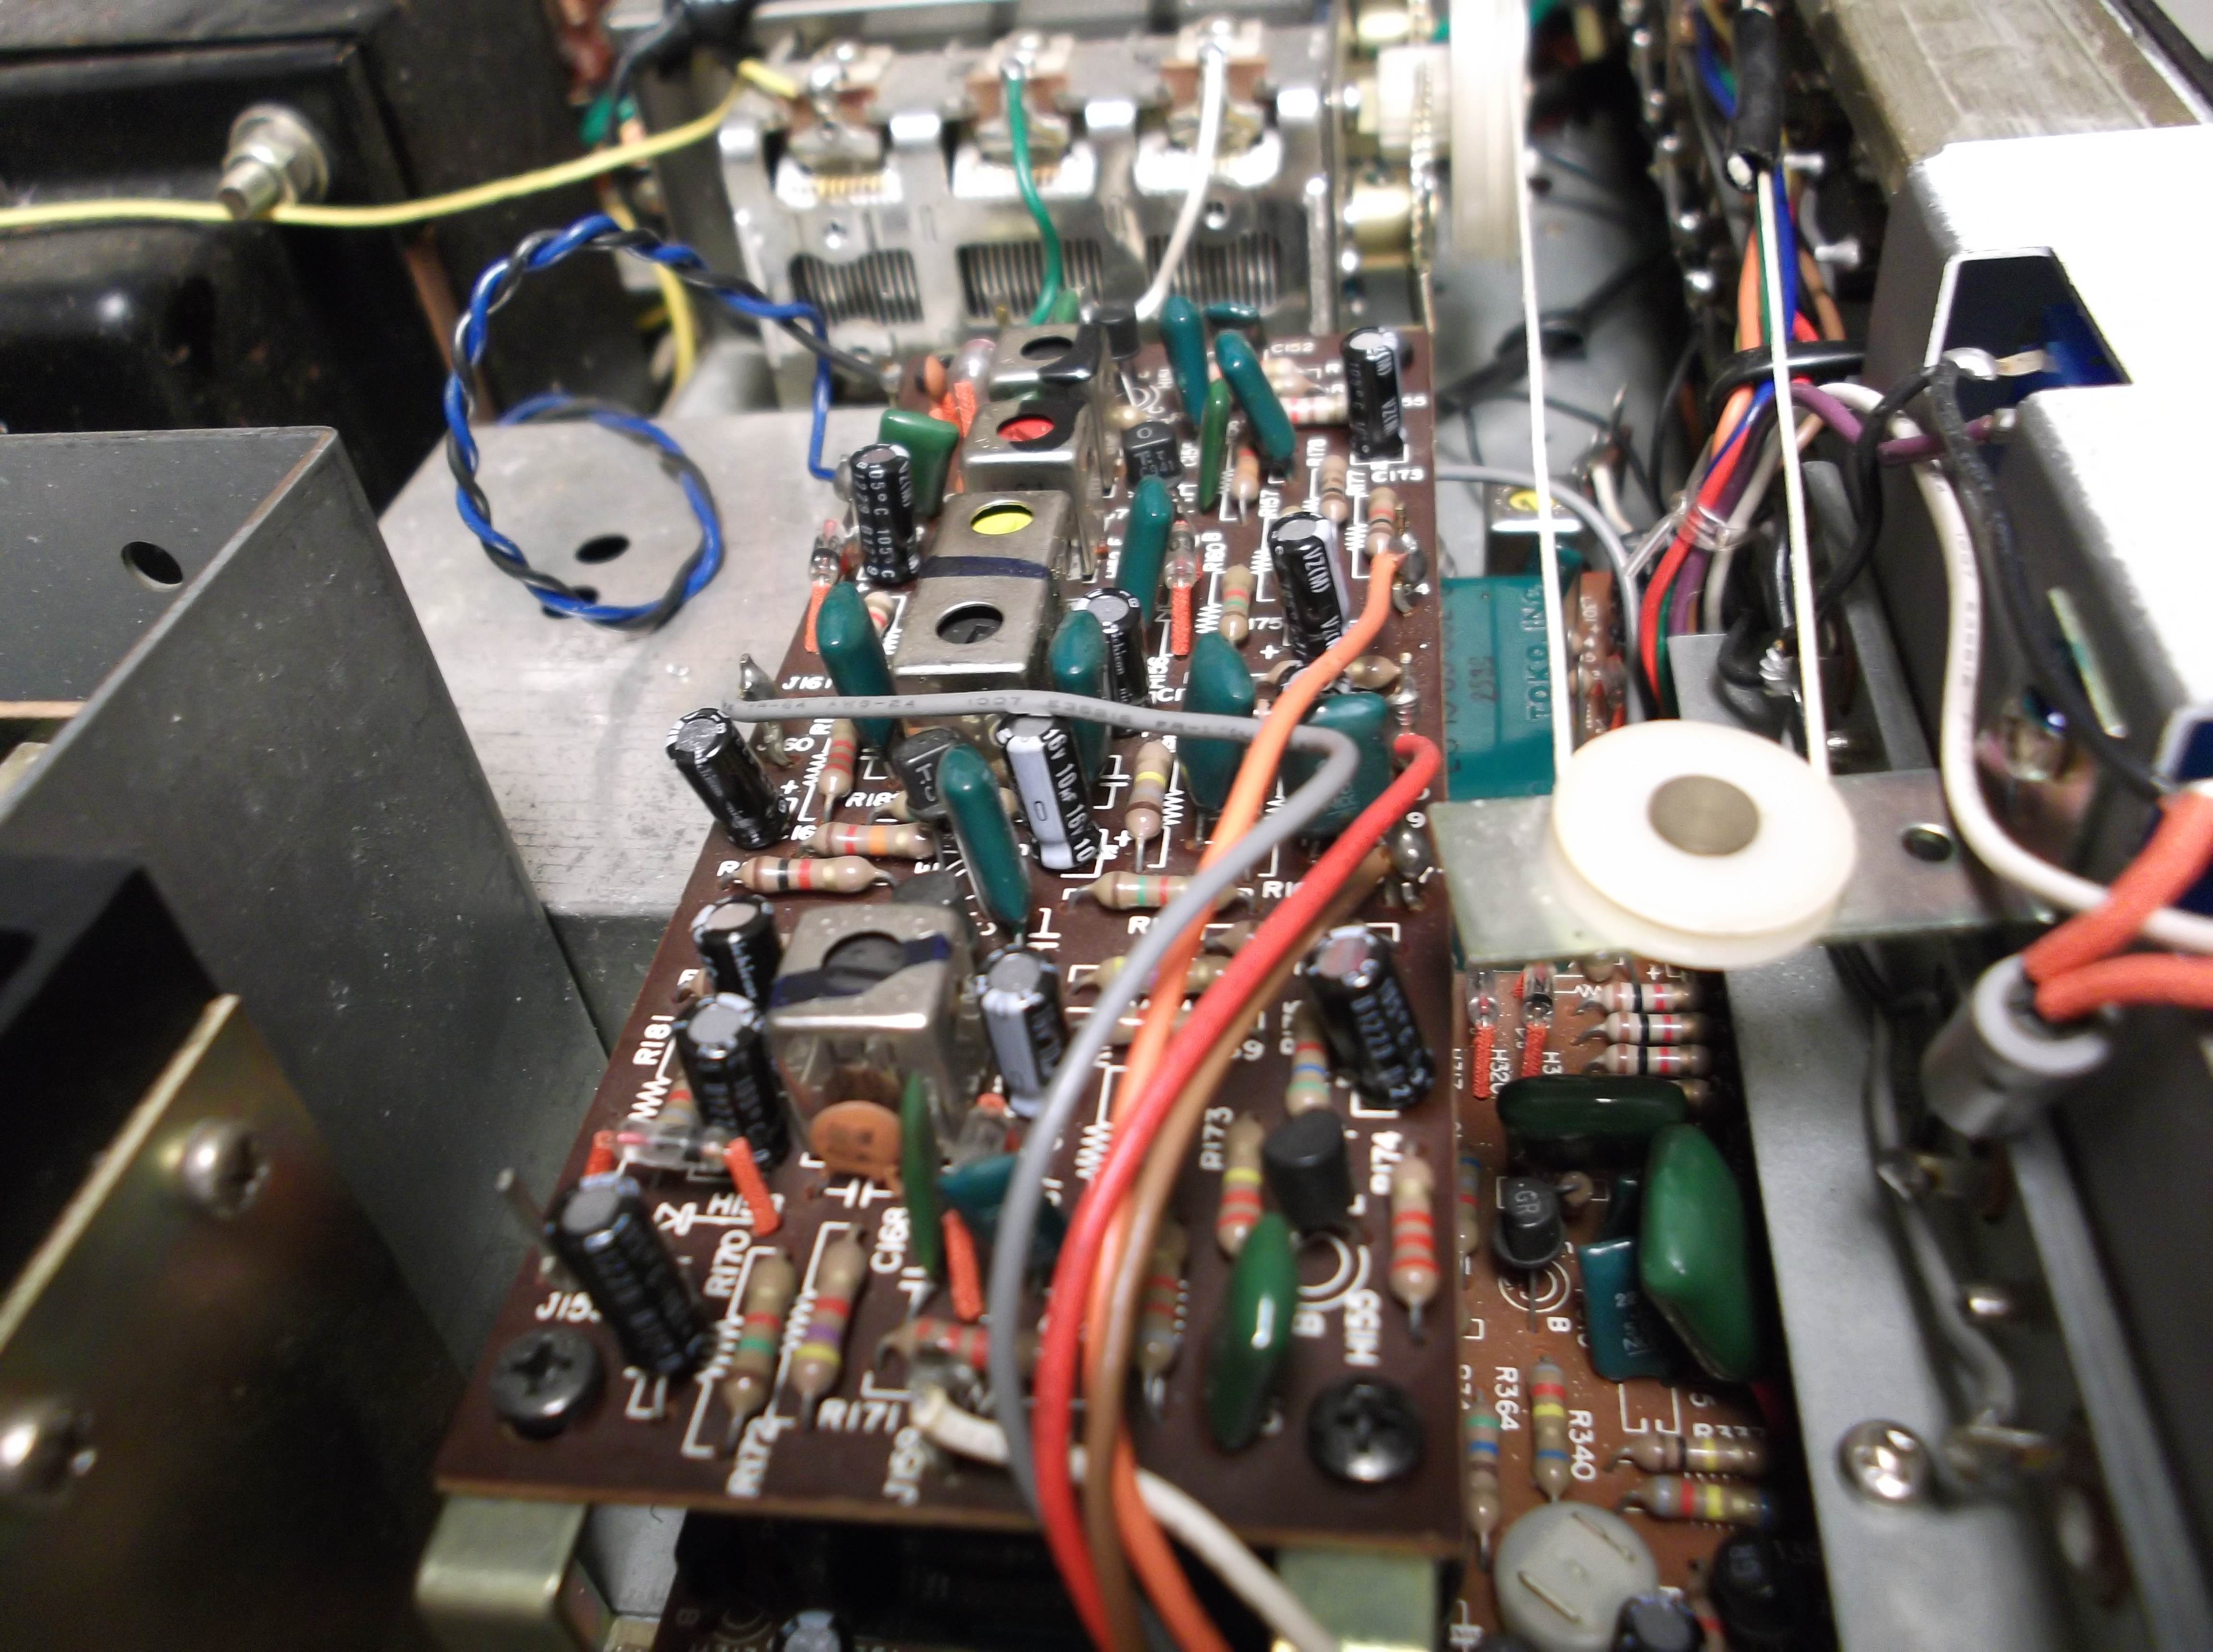
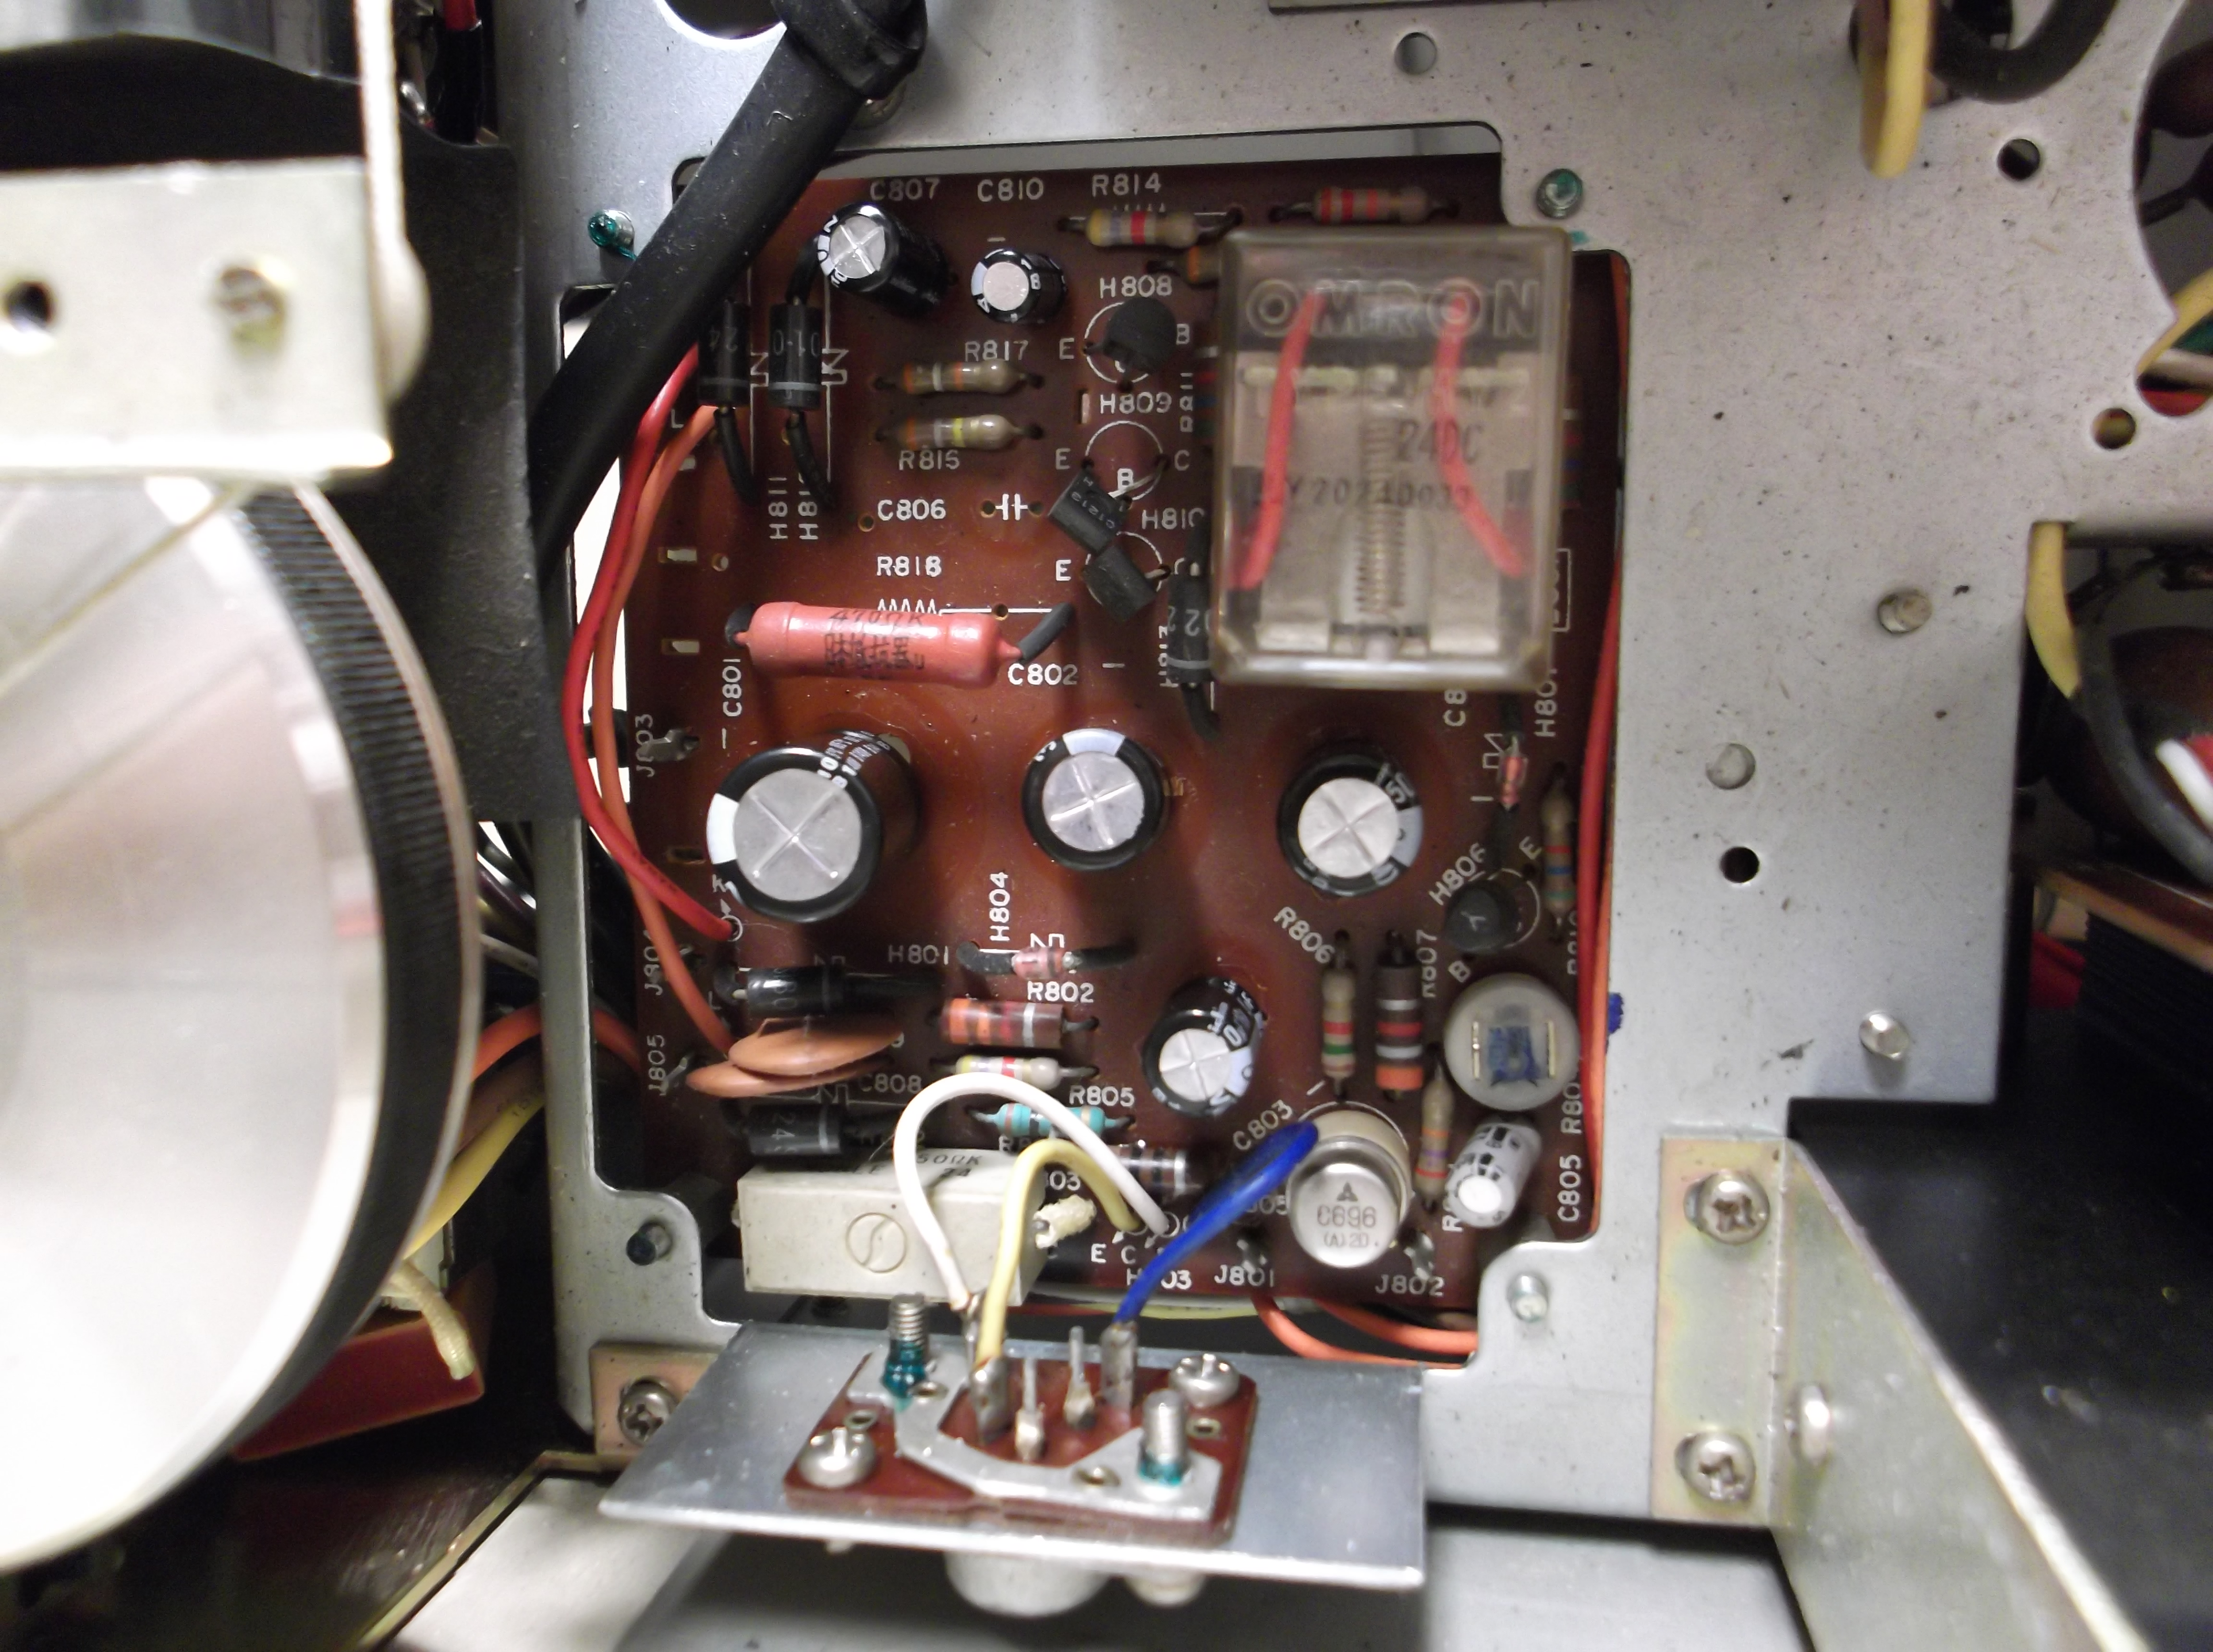
This PCB seems to contain parts of the FM muting, & automatic stereo/mono selection. Another tough job with three capacitors to change out.
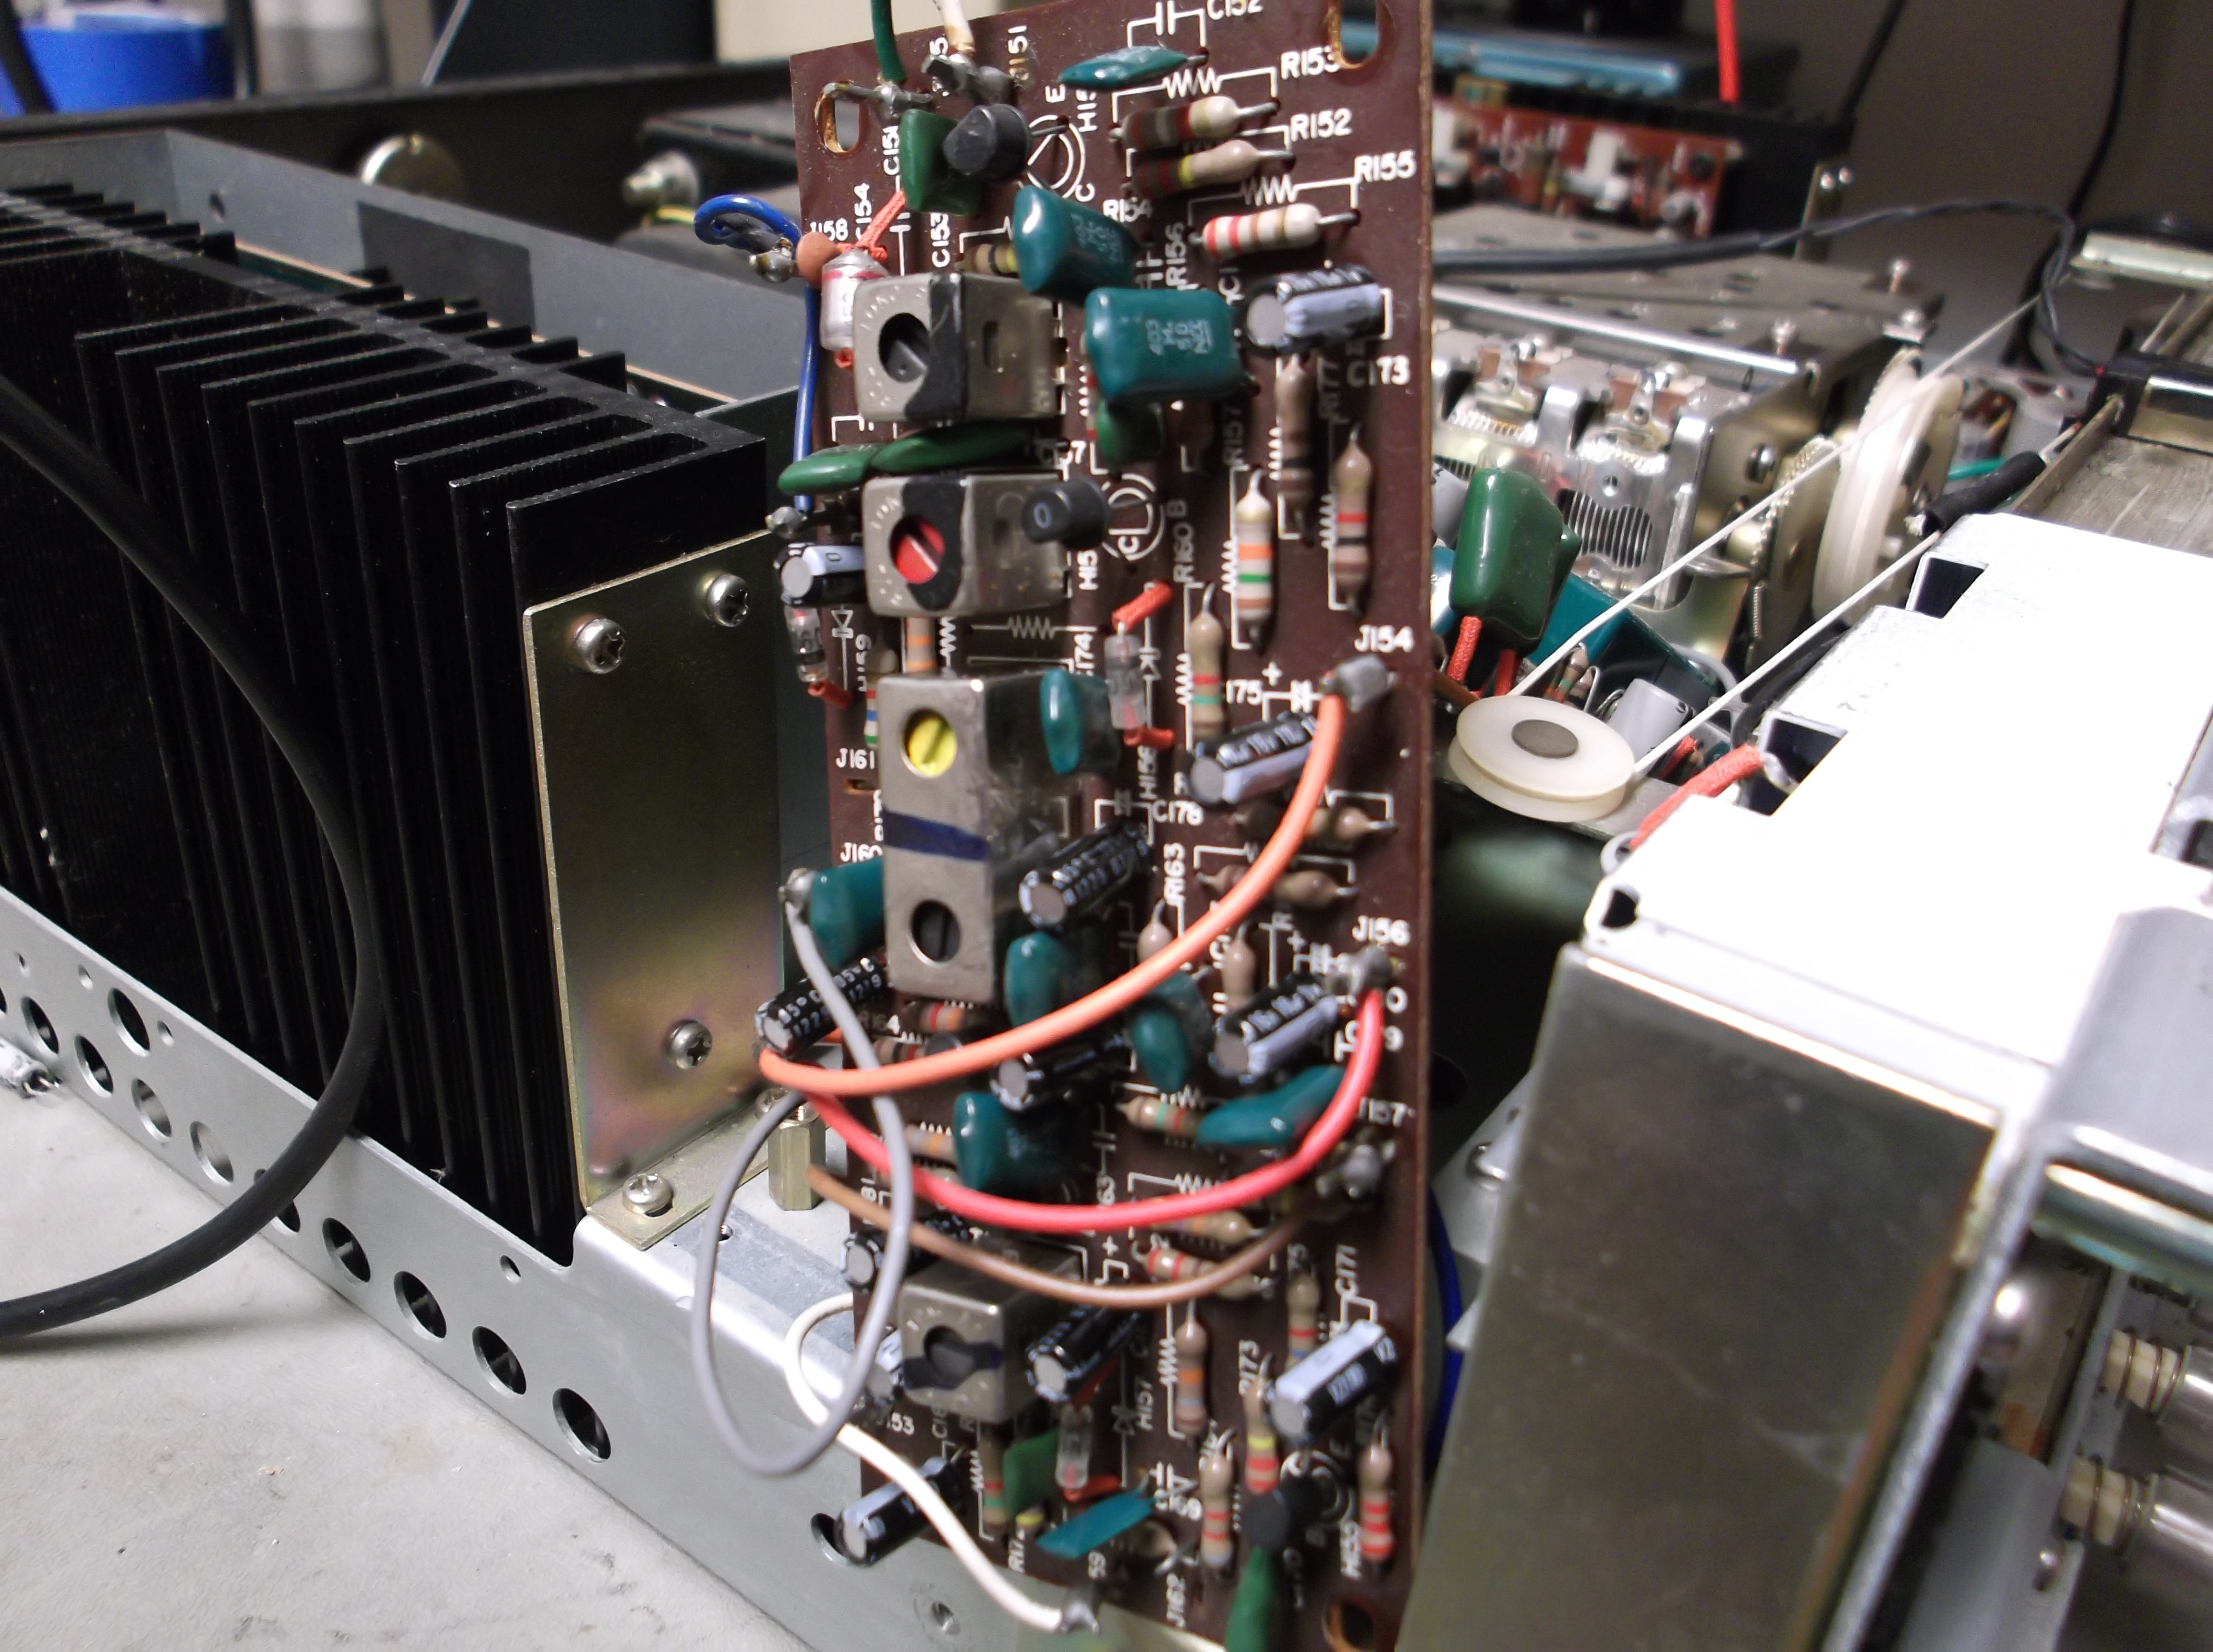
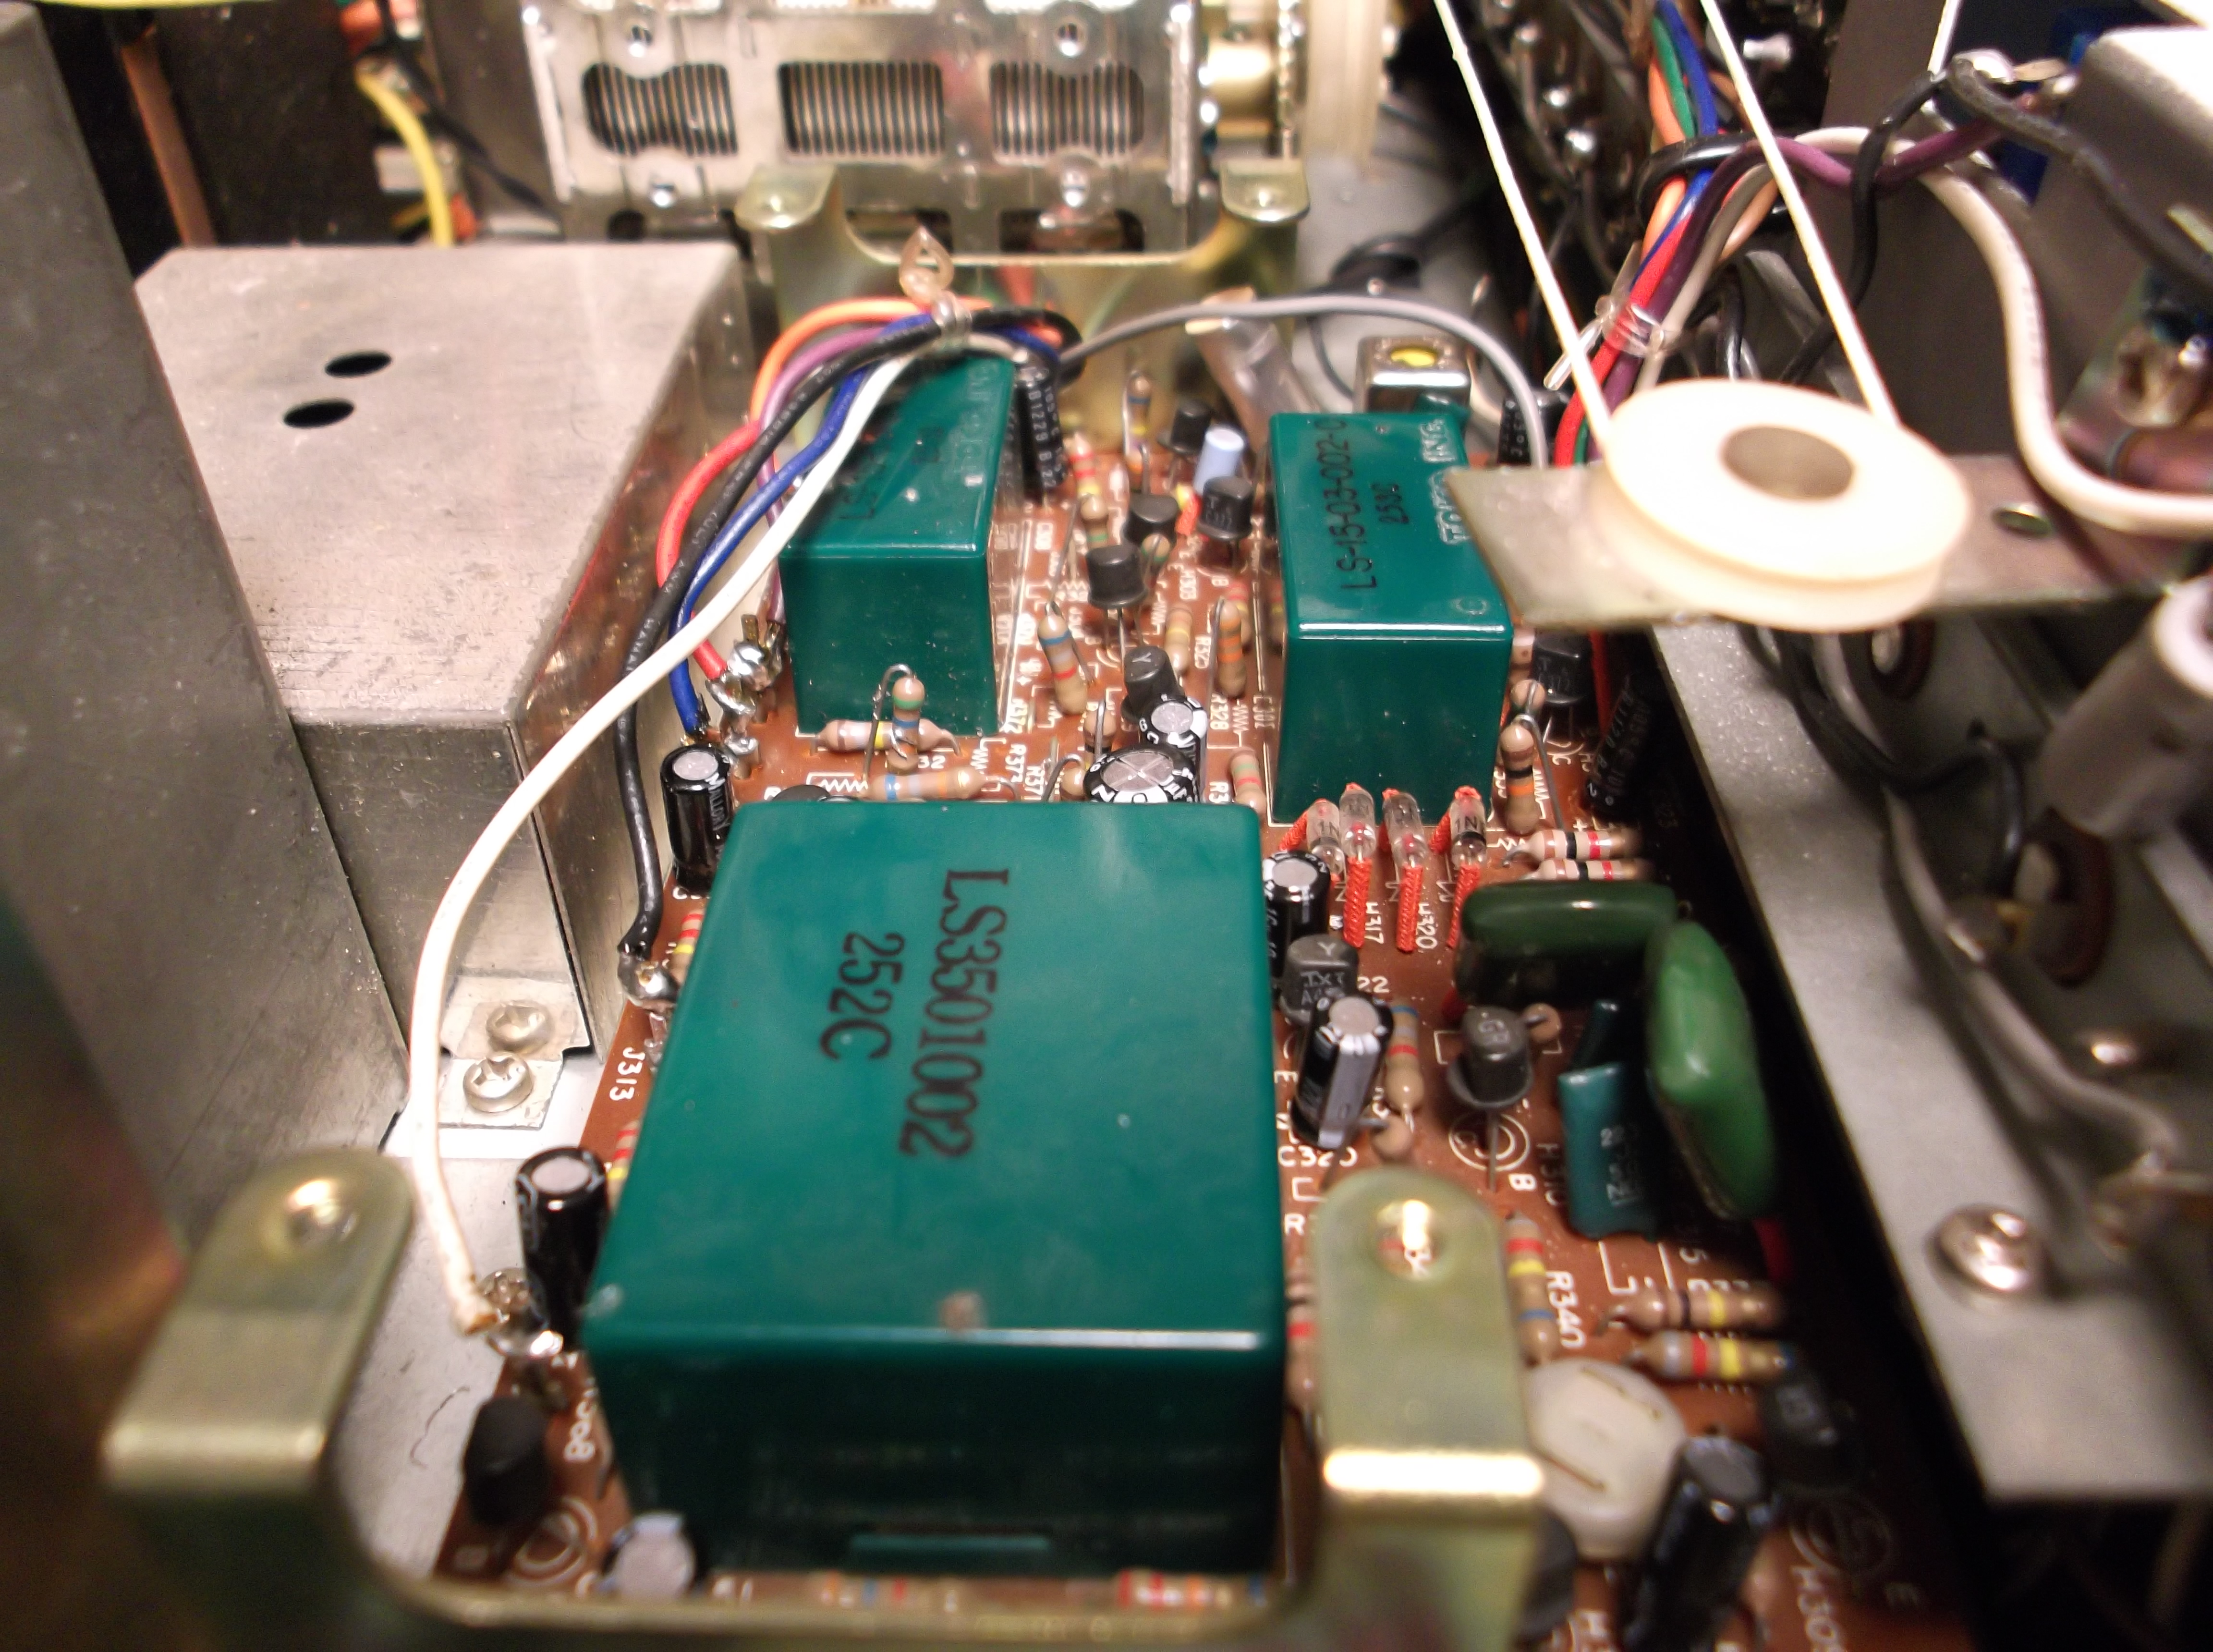
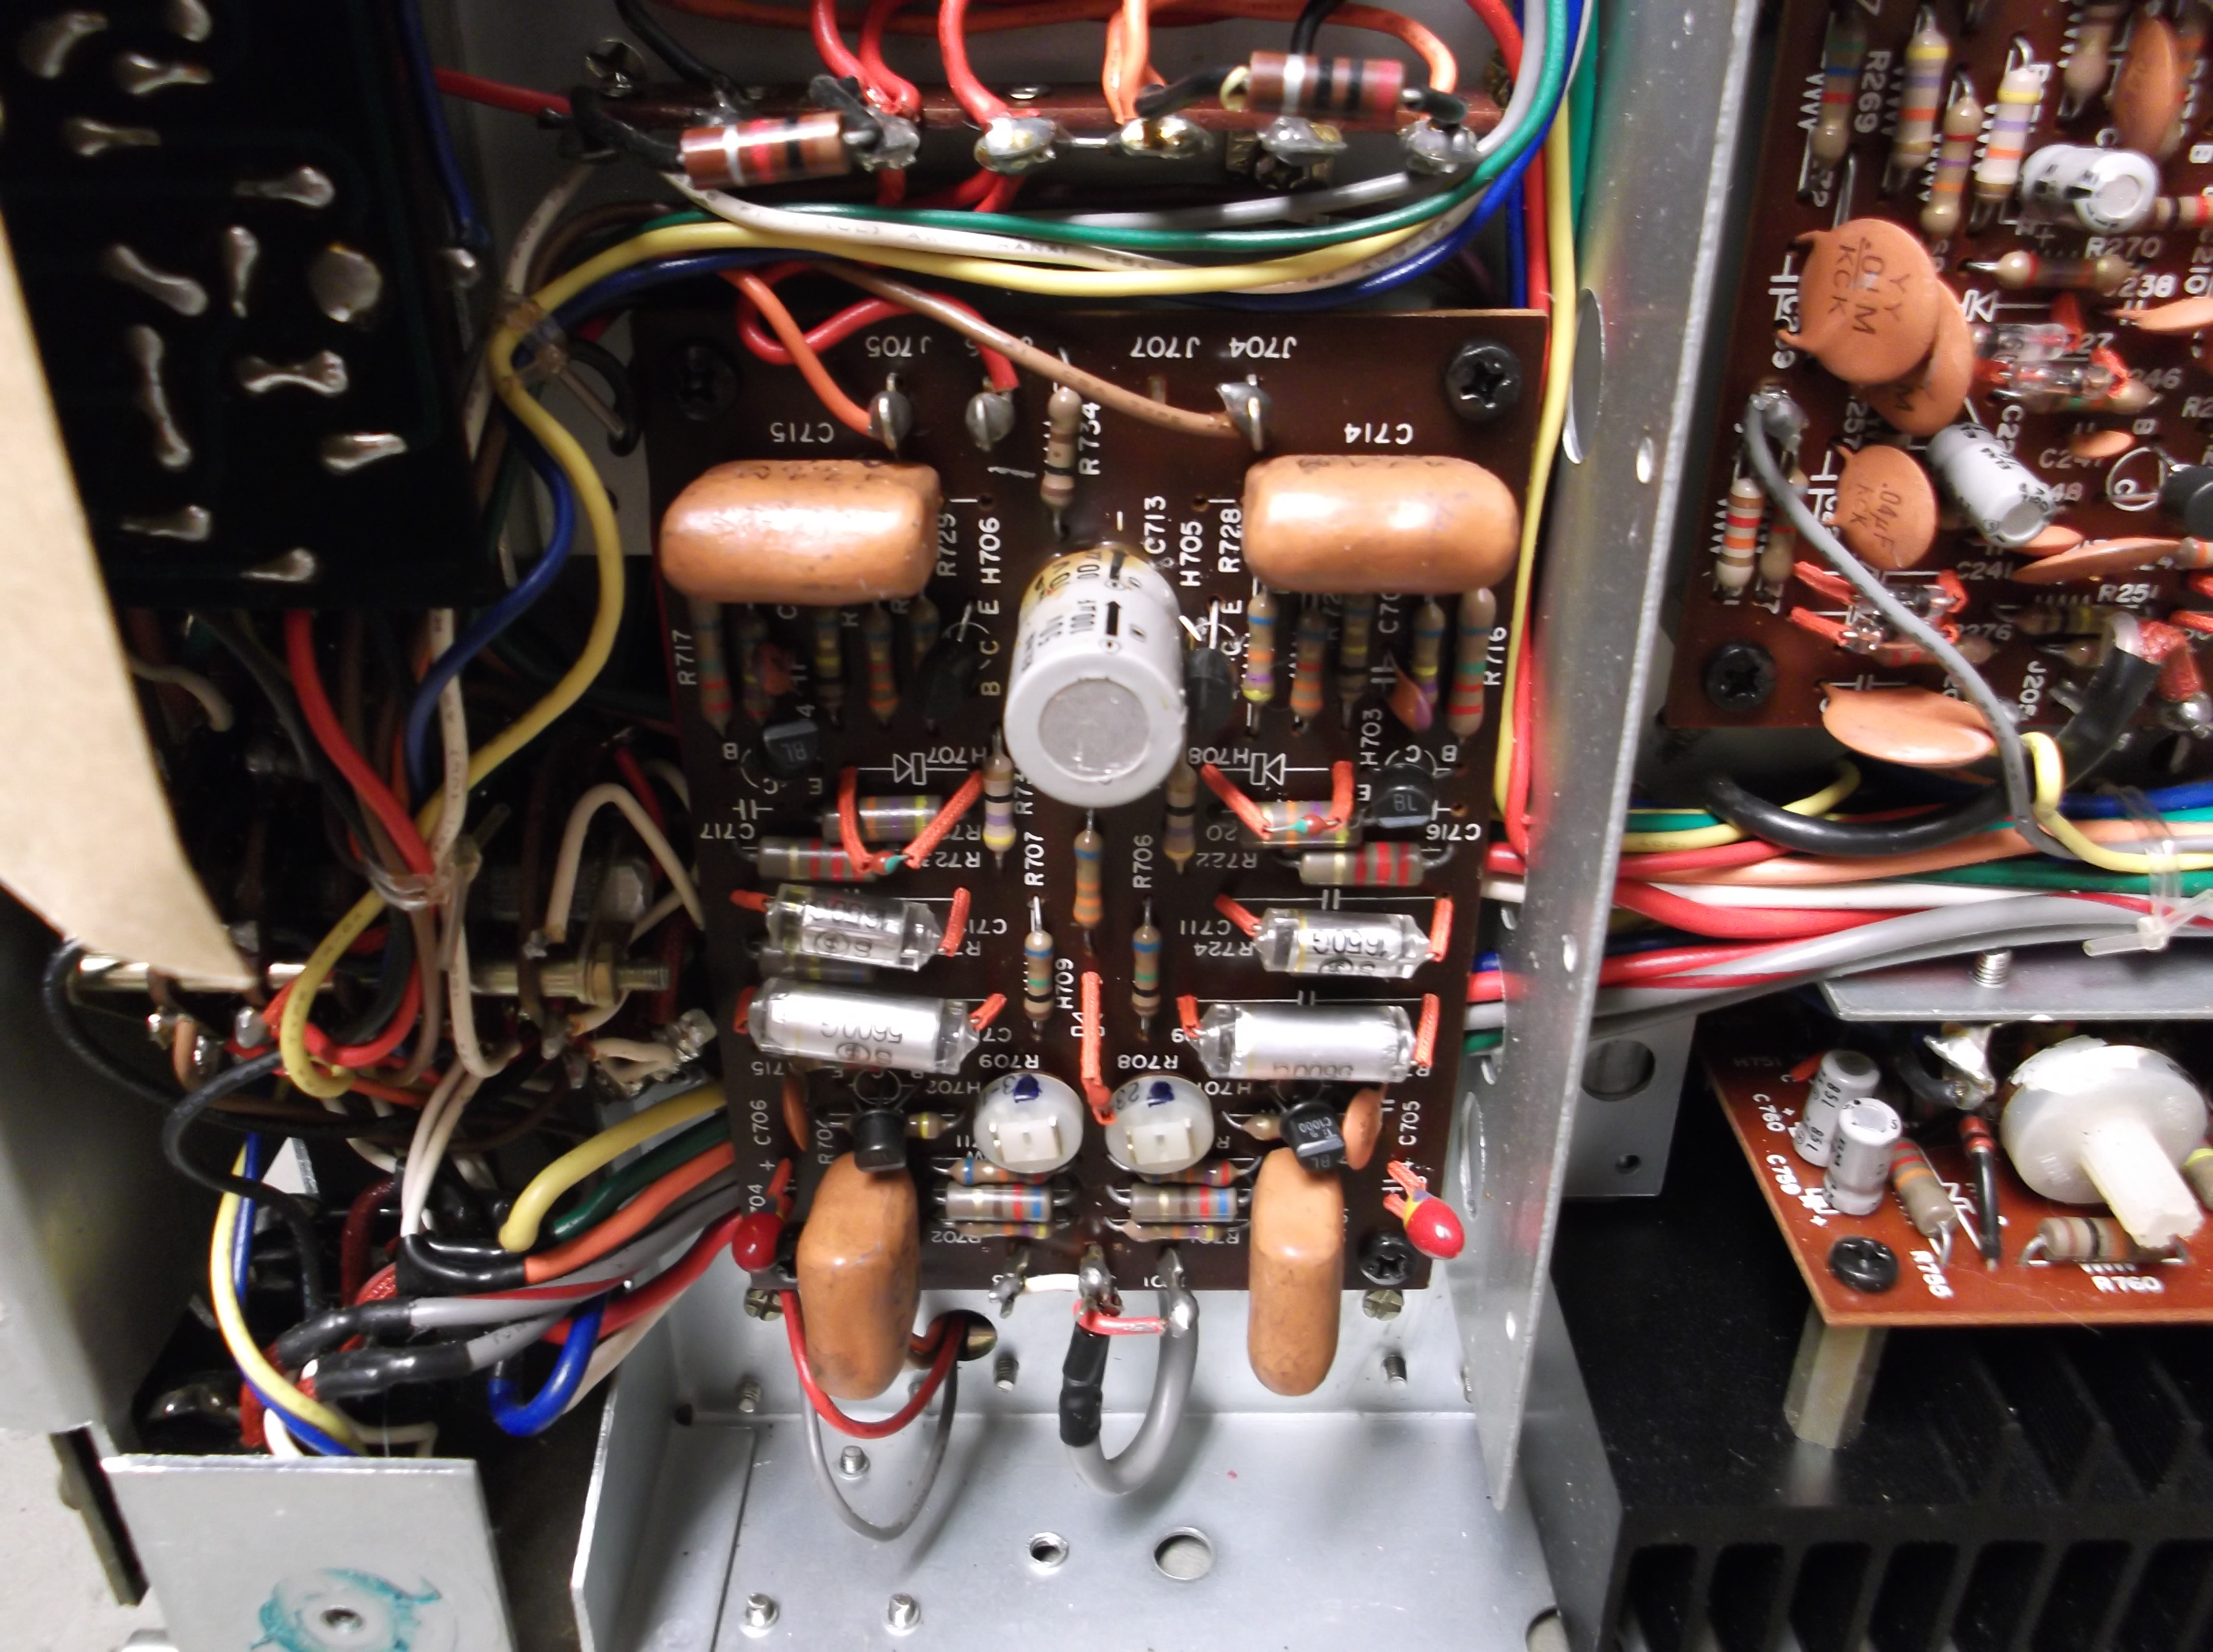
Another “after” shot of the output protection relay PCB. The rings around each capacitor are the outlines of the larger originals.
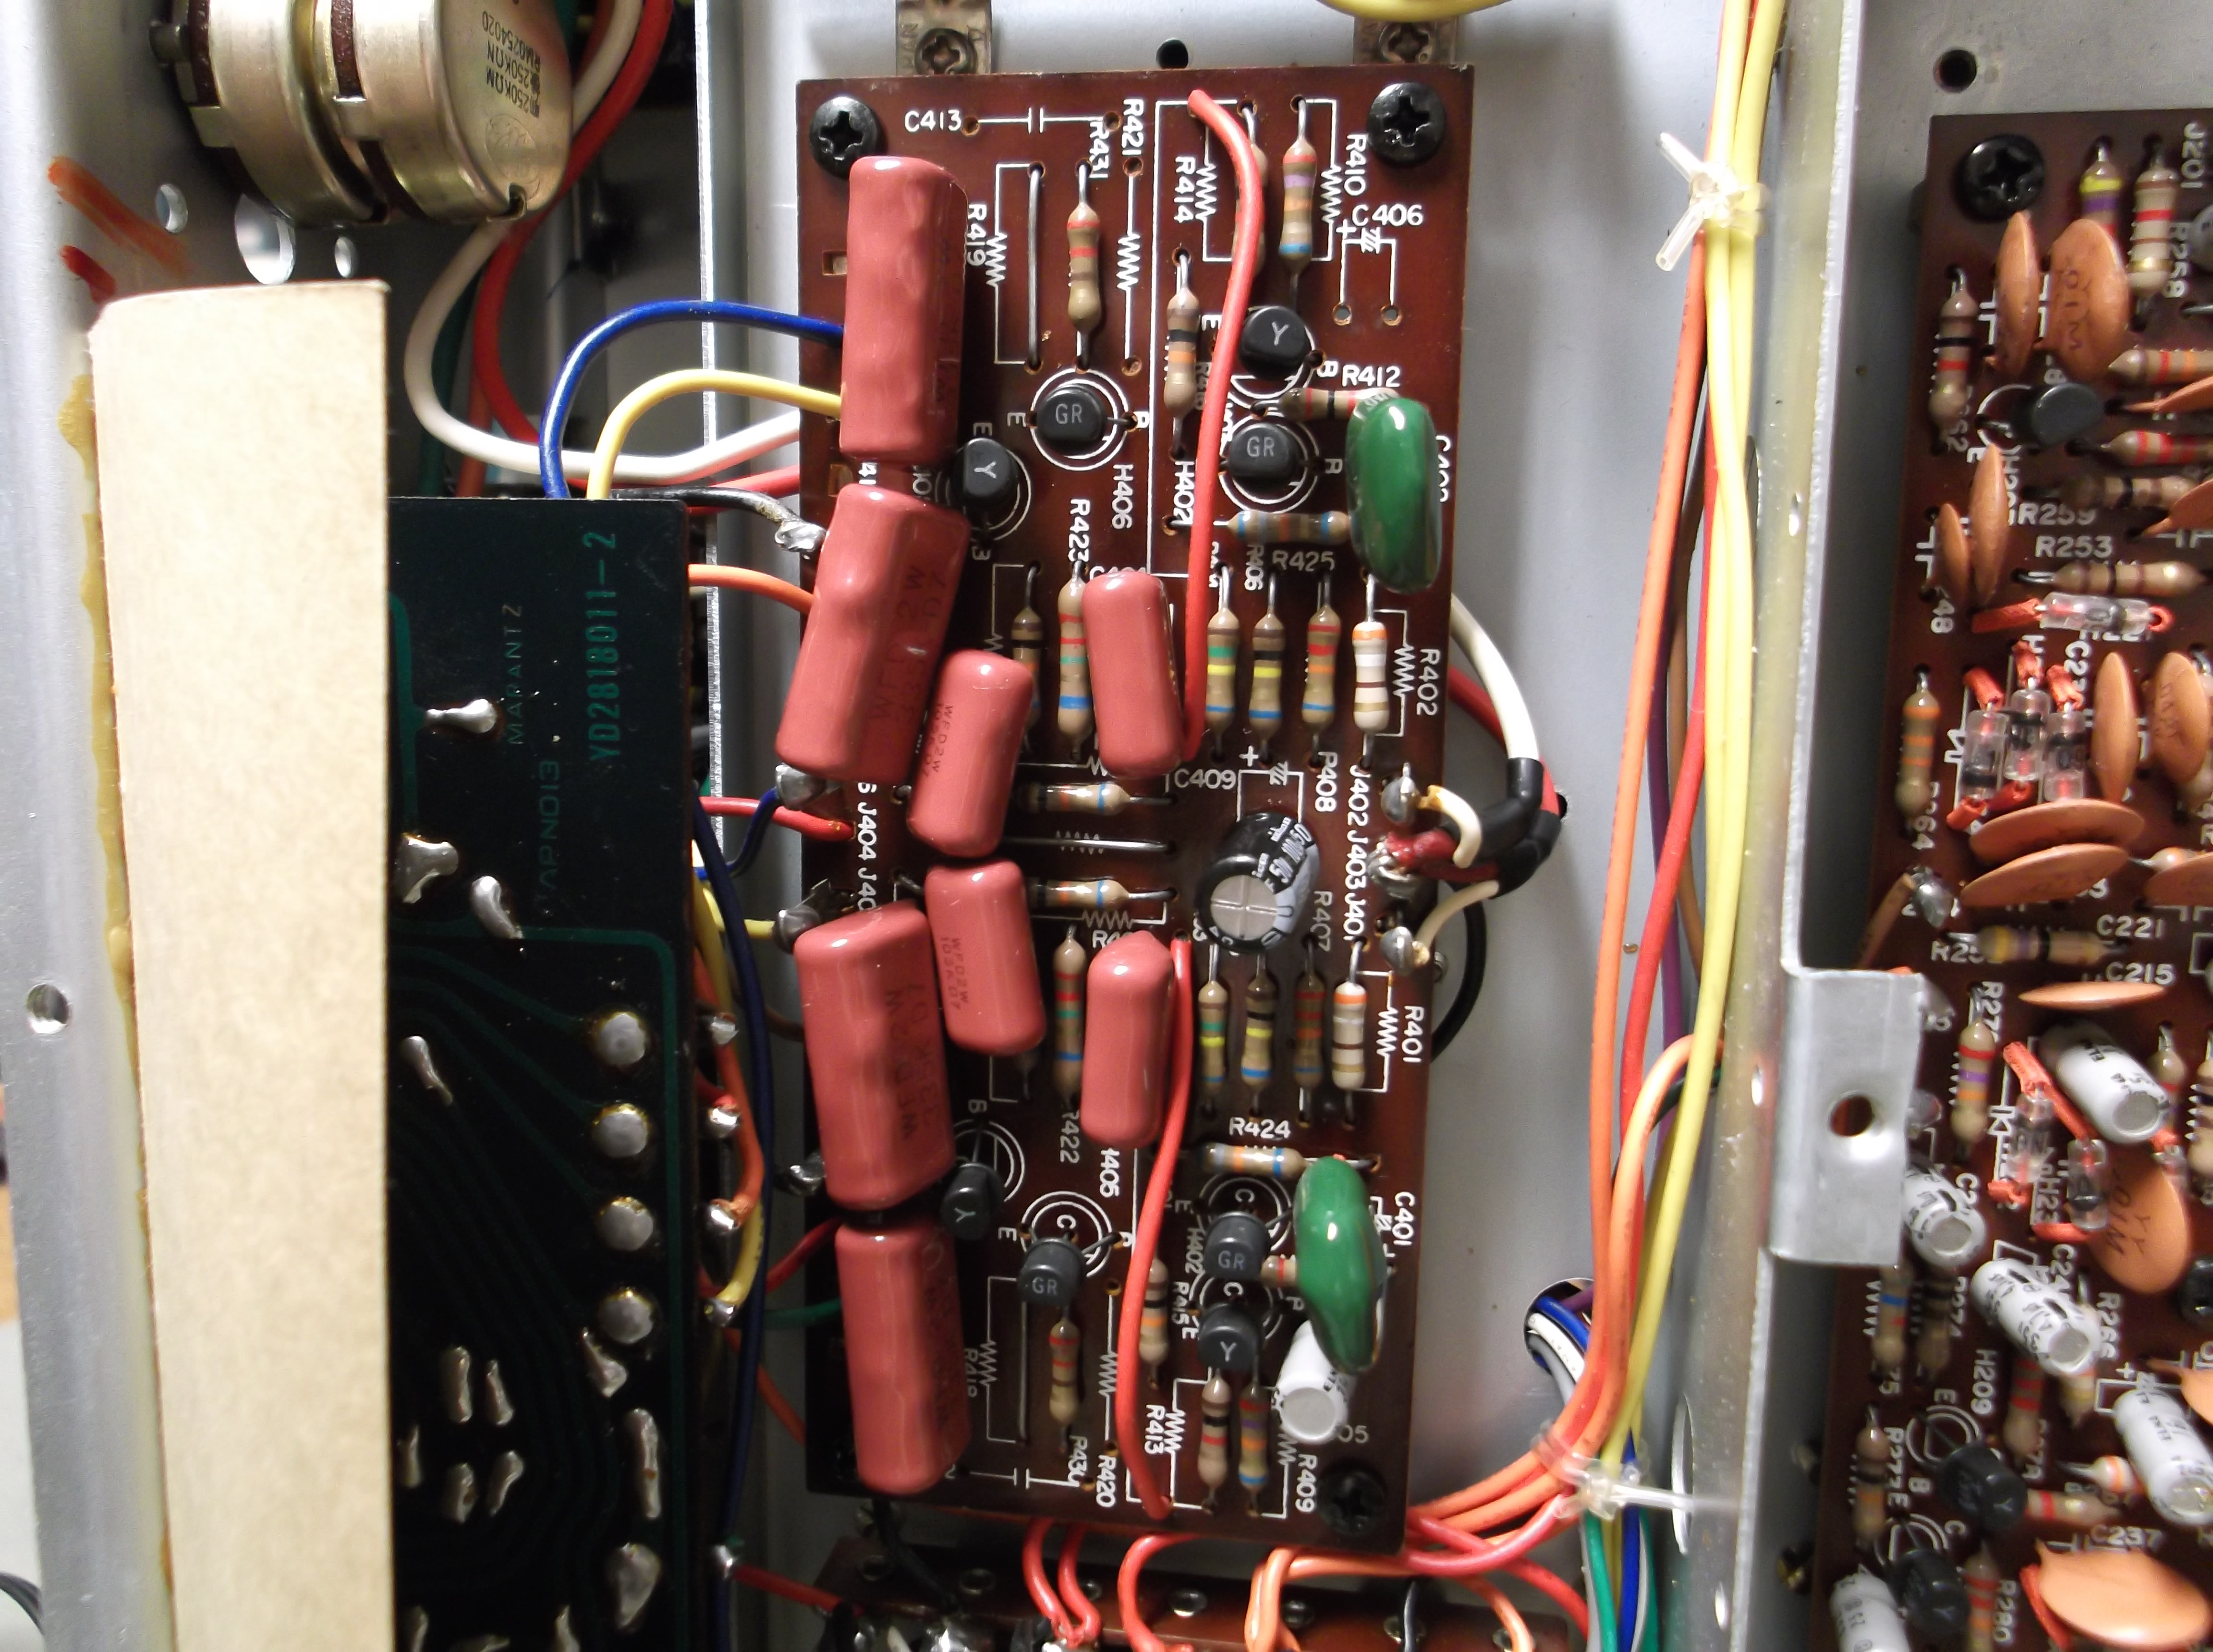
Also replaced but not photographed were two hard-to-reach capacitors on each power output module. Each module needed to be disconnected and removed! While these were out, one transistor was replaced on each module to comply to a Marantz service bulletin. Apparently they lost faith in the part they originally selected.
Now we replace all of the burned out lamps.
It was originally assumed that all of the lamp were not working due to some switching or power supply problem, something common to the entire lamp circuit. NOPE! Every lamp was burned out! There are three lamp types to replace, and thankfully a kit of replacements is readily available. Some digging was required to remove the PCBs used to mount both the source indicator lamps and the tuner dial lamps. The tuner indicator needle required a bit of disassembly.

This PCB has been stripped of all of the display lamps that indicate the signal source selection.

Old and new lamps. The white based lamps are for indicating which signal source is selected, and to indicate stereo. The lamp that looks like a fuse is for the tuning dial. The small lamp with blue wires is for the tuning indicator needle.
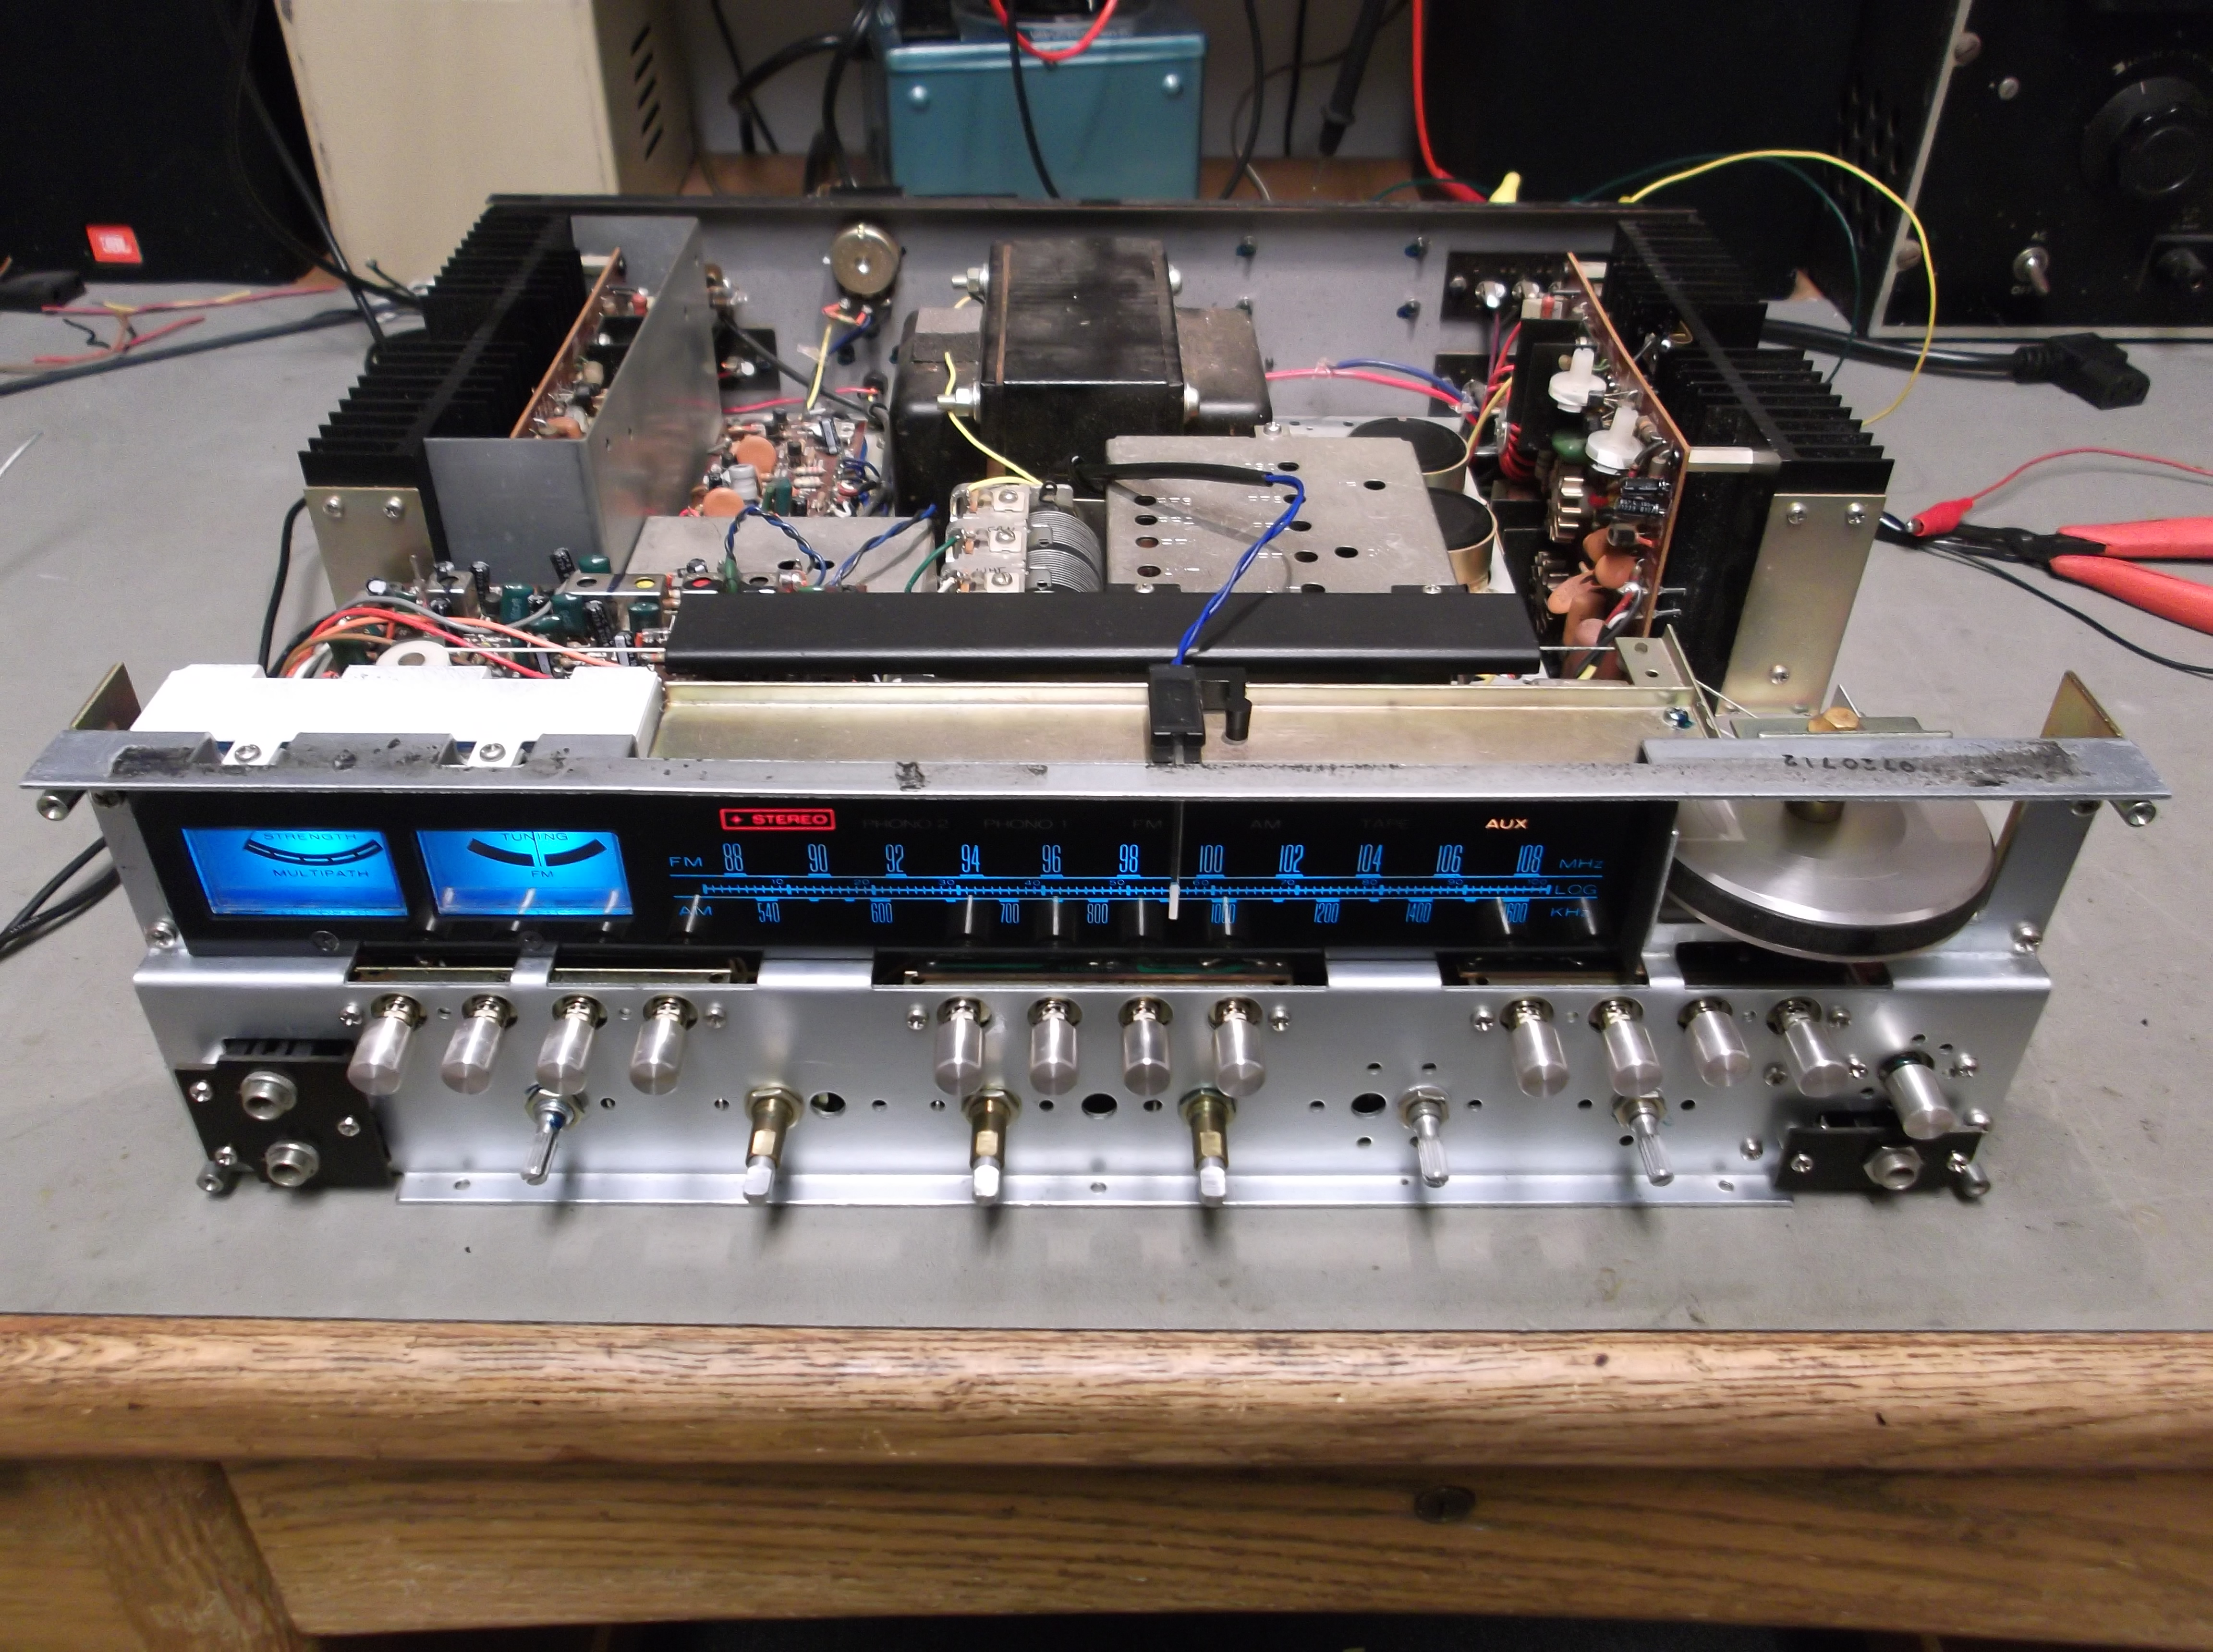
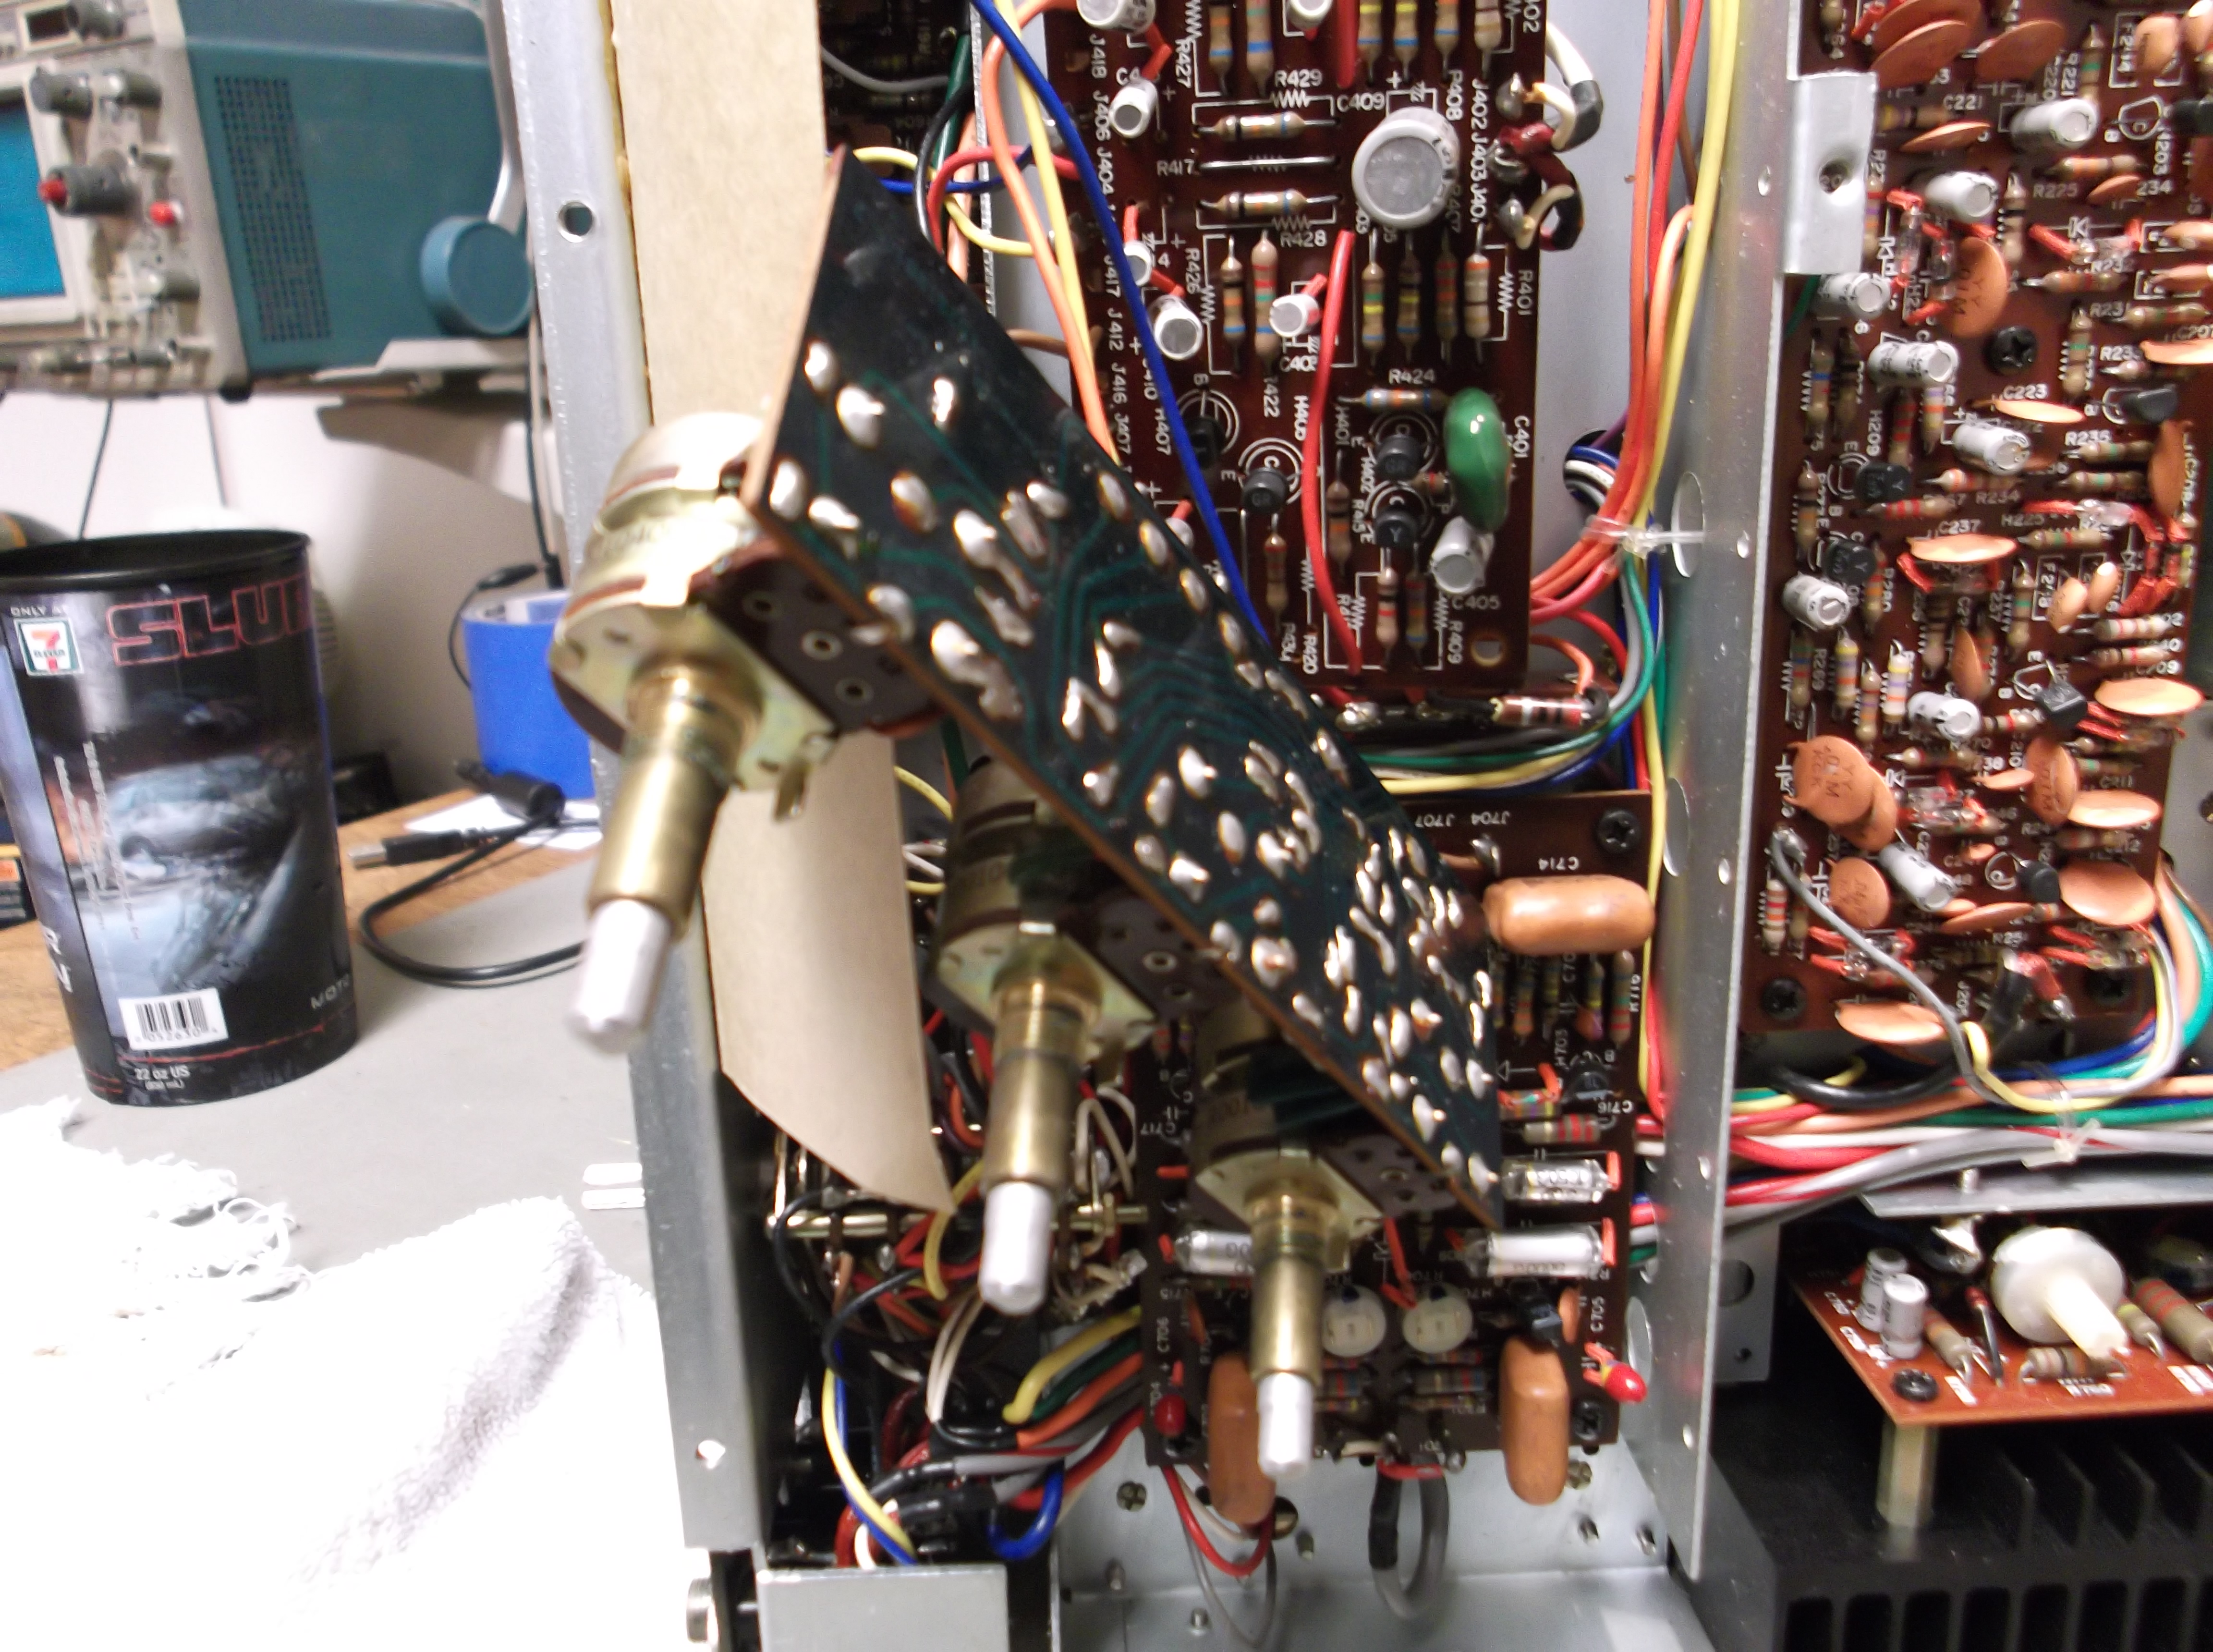
All switches and controls were given the cleaner treatment,and all the work checked over one more time. Here you can see the unit powered up, lights glowing!
Testing:
All inputs were tested, AM & FM reception, power output, etc. and everything checked out, except your tech forgot the clean the headphone jack! Some cleaner on a swab had the headphones working great. The unit was then played as much as possible over several days in my own listening area. I wouldn’t want to make comparisons to my own vacuum tube constructions, but I felt it was accurate and non-fatiguing. I hope the customer agrees!
That’s all folks!

Are you still restoring these receivers? And where are you located if you are?
Thanks Gerry Wojo…
Unfortunately, no. I have found that it takes about $500-$600 in billable labor to do the full restoration, which most people are super-reluctant to pay. I have also found that I make so much more money much easier at a day job! Doing repairs for money is really a fool’s errand.